Bubble's birthday is the first off the rank and she chose strawberry cake which has been a family favourite since as long as I can remember. It is a pretty pink cake flavoured and coloured using jelly crystals (jell-o box) which makes for a consistent cake all year round. My family recipe has had a few tweaks over the years so I've included the current recipe below.

The birthday girl decreed only a small amount of frosting. I decorated simply by covering with Italian Meringue buttercream (recipe below), adding some texture with varying shades of contrasting buttercream and edible gold and added a ring of big sweeping rose swirls on top using a 1M tip alternating between pink and white and then with random piped leaves. The pink colour is sugar flair dusky pink/wine and the green is sugar flair eucalyptus. Italian Meringue buttercream uses whipped egg whites and a sugar syrup and takes a bit more work than simple American buttercream. I like to use it as it is lighter and less sweet to my taste.

To give the cake a bit of a lift I added pistachio cream between each layer, which to be honest, although nice was not really worth the effort (**keep your eyes out for a pistachio ganache recipe I have coming up which will be worth the wait). The pistachio cream was from Costco but seriously you can just leave it out and the cake will be just as lovely.

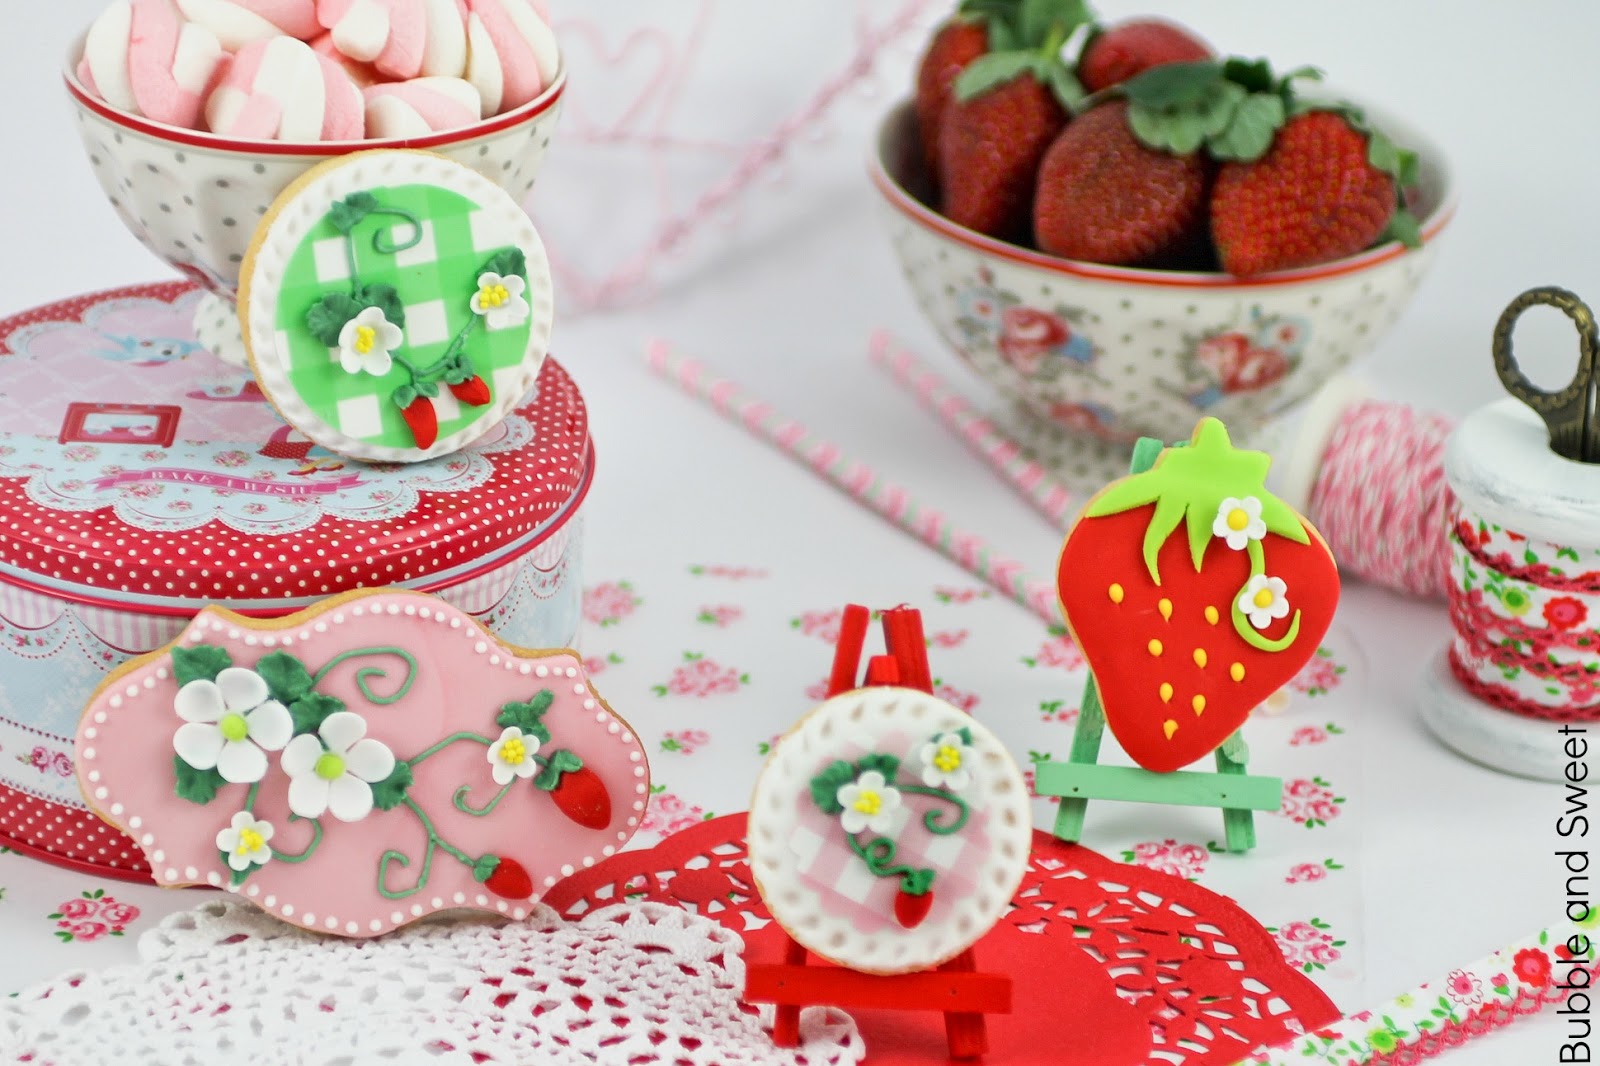
If you want to see another version of this strawberry cake decorated in a different way check out this sweet strawberry candy girl cake here on my blog.
xx
Linda
Pretty rose swirl strawberry cake - makes a 6 inch 3 layer cake
- 3 x 6" strawberry cakes (see recipe below)
- 1 x batch Italian Meringue buttercream (see recipe below)
- 1 cup Pistachio cream (optional) warmed in microwave just for a short time until it easily is spreadable but not hot.
Assembly Instructions
You can make this cake 2 or 3 days before you serve. Bake the cake, cool and wrap in plastic wrap. I trim the brown edges off this cake but you don't need to, I do it because I like the look of the sliced cake. You will however need to trim off any domed top to make 3 cakes approximately the same height.
-Place the bottom layer onto a 6"cake board (or straight onto a plate or stand if you are not using the cake board).
-Pop a small dollop of buttercream under the cake to secure it in place and then using an offset spatula spread a layer of buttercream over the top.
-Put some buttercream into a piping bag wth a large round tip and pipe a dam around the edge of the cake (see picture below). Spoon in half the pistachio cream and pop into fridge to chill until buttercream is firm.
- Remove from fridge and top with a thin layer of buttercream to seal the pistachio cream. Add the next layer and repeat the above steps of spreading a layer of buttercream, piping a dam, adding the pistachio cream and placing in fridge to chill again.
- Remove from fridge, top with a thin layer of buttercream to seal the pistachio cream, add the final cake layer and cover with a thin crumb coat, smoothing the sides and top. Place into fridge to chill until buttercream is firm to touch.
- Reserve around 1 1/2 cups plain white buttercream and colour the remainder in pink.
- smooth the pink buttercream over the cake in a thin layer, if you can't get it perfect do not stress, this cake has an imperfect textured look to it. If you have a cake turntable and a cake scraper it is easier to achieve a smooth finish, but if not use a knife or offset spatula to the best of your ability. I have been known to use a clean plastic ruler in a pinch.
- Put the remaining pink and the white buttercream into seperate piping bags with a 1M tip and pipe the roses. If you look at my cake closely you will notice that there are only 3 pink swirls and 5 white swirls, with some pink stars piped in-between. The key here is to do what you want, it's your cake be creative. I also piped a border around the bottom with a small star tip. Then I coloured a small amount of the remaining white buttercream green (eucalypt) and piped the leaves. Pop into fridge to chill until firm.
I wanted a rustic casual look and added some of the left over buttercream to the sides randomly and smoothed it in with an offset spatula. Finally after another quick chill I added some edible gold leaf.

Sweet Strawberry Layer Cake (divide the batter into 3 x 6" pans to make a 4" high filled cake)
The jelly (jello) used in this recipe is the dry sugar crystals in the packet. If cake flour is not available use 310g (11 oz) plain (all purpose) flour and add 40g (1 3/8 oz)of cornflour (corn starch) instead.
*Note I like to use weight instead of cup measurements as standard cup sizes are not the same in USA and Australia.
350g (12 3/8oz) cake flour
2 1/2 tsp baking powder
200g (7oz) sugar
1 packet strawberry jelly crystals (jell-o) 85g (3oz approx)
225g (8 oz) unsalted butter at room temperature
4 large eggs at room temperature
1 tsp vanilla extract
240ml (8 1/2oz) full fat milk
135g (4 3/4oz) no fat greek yogurt
Preheat oven to 170 C (340 F) fan forced. Line the base and sides of 3 x 15cm (6") tins or 2 x 20cm 8" tins.
Sift the flour and baking powder and set aside until needed.
In the bowl of a large mixer at high speed cream together the butter, sugar and jelly (jello) crystals until light and fluffy.
Reduce speed to low and add the vanilla and then eggs one at a time mixing until combined and scraping down the sides as required.
Add 1/3rd of the flour mixture, mix at low speed until just combined scraping down sides as required. Add 1/2 the milk and mix until combined and then another 1/3rd of the flour mixture once again mixing and scraping down the sides.
Add the remaining milk and all of the yogurt and mix until combined and then the final third of flour making sure the sides and bottom of bowl have been scraped down and no lumps of flour are remaining.
Divide the mixture evenly between the prepared tins.
Bake until the cake is cooked all the way through and a skewer inserted comes out dry approximately 45 minutes.

Italian Meringue Butter cream This batch will make enough to fill and cover the cake and extra to decorate with buttercream flowers as in the example.
Make sure your bowl and mixer are clean to whip egg whites. I use a stand mixer with a pouring shield to make this butter cream, the sugar syrup is very hot, make sure you take appropriate safety precautions when pouring the hot sugar syrup mixture. Not suitable for young children to make.
300g white sugar (12oz)
75g (2 3/4oz) water
5 egg whites
450g (1 pound - 4 sticks) unsalted butter cut into smallish cubes
1 tsp vanilla extract
Place sugar and water into saucepan over high heat and bring to boil. Conintue to heat until the sugar syrup mixture reaches 115 C (240F). Brush down the the sides of saucepan with a wet pastry brush as required to stop sugar crystals from forming.
Place the egg whites in the bowl of your mixer (make sure the bowl is quite large). When the sugar syrup reaches 110C (210F) start to whip the egg whites at high speed.
Once the sugar syrup reaches 115C (240 F) carefully pour the syrup into the whipped egg whites whilst the mixer is still beating on high.
Continue to beat until the egg and sugar mixture cooled to room temperature (or the bowl feels cool to touch) and then start to add a few cubes of butter at a time. Add the vanilla.
The mixture may become quite liquid, but continue to beat until it thickens and all the butter is evenly distributed. If necessary pop the mixing bowl into the fridge to cool down a little then continue to mix.

I love when people share my blog ideas and give credit. All posts contain original ideas, photography and recipes by Linda McCubbin unless otherwise credited. Please feel free to link back to my blog for non commercial purposes.