Showing posts with label lemon. Show all posts

Tuesday, June 17, 2014

Lemon cream and macaron stuffed strawberries


Are these even a thing?  I'm not sure but they did taste really good. I guess they're a thing now.

Delicious strawberries stuffed with lemon cream and then topped with a mini macaron. 

If you don't have mini macarons on hand of course you can just stuff with the lemon cream and top with some sprinkles or chopped pistachios.

I've made these up with leftovers I had on hand, the recipe links to the macaron and lemon cream are in the instructions below.


Macaron Stuffed Strawberries
As mentioned above if you do not have macarons handy you can top with sprinkles or chopped pistachio, and I guess then they would be Lemon Cream Stuffed Strawberries and still delicious :)

Strawberries
Mini macarons (CLICK HERE for recipe, but make the macarons smaller)*
Lemon cream curd (CLICK HERE for recipe)^

Using a sharp knife hull the strawberries. If you would like to stand the strawberries upright, cut a little of the pointed rounded tip off as in the picture.

Place the lemon cream in a piping bag with a ruffle tip (eg Wilton #32 or #199) and pipe a small swirl of cream starting in the hulled hole and working your way around in one swirl.

Push a macaron into the top of each lemon cream filled strawberry sideways as shown in picture.

Best served within a few hours of making.

*When I am making a batch of regular macarons I often pipe half a tray of smaller ones for other decorations. You can wrap in plastic wrap, place in an airtight container and freeze, then defrost still enclosed in the airtight container and plastic wrap in the fridge when you are ready to use them. Wrapping them well as described minimizes the risk of condensation forming on the macaron.

^The lemon cream recipe in the link will make quite a big batch for strawberries, you can half the recipe.


Linda Vandermeer is a blogger, baker, maker and author of the cookbook ' Sweets on a Stick': More than 150 kid friendly recipes for cakes, candies, cookies and pies on the go!. Published in the US the book is available at most online book stores.

Original Ideas, photography and recipes by Linda Vandermeer do not reuse without permission. 


Sunday, May 18, 2014

Lemon cream curd and raspberry tartlettes


These lemon cream tartlettes are the perfect little treat for a sweet afternoon tea.

Not too tart, the addition of cream to lighten the curd makes the filling sweet and tangy with a smooth velvety cloud-like quality.

I've used the microwave to make the lemon curd in just a couple of minutes, it's so simple. Click on the picture below to see the quick video tutorial (written instruction and ingredients are included below):


The lemon cream curd can also be used as a frosting for cupcakes, filling for whoopie pies or as a topping for pancakes or scones (biscuits).


Lemon cream and raspberry tartlettes makes 10

Sweet pastry cases (CLICK HERE FOR RECIPE)
Lemon cream (recipe below)
Punnet raspberries

To assemble tarts spoon or pipe lemon cream into pastry cases and top with raspberries.

Microwave Lemon Curd Cream
This recipe can be doubled, you will just need to increase the amount of time you microwave for, bursts can be increased to 30 seconds and continue until the mixture is thick enough to coat the back of a spoon (see video for demonstration).

50g (1 3/4 oz) lemon juice
2 large eggs
75 g caster(2 5/8oz) (superfine*) sugar
50g (1 3/4oz) unsalted butter (room temp)
1 1/2 sheets gelatine (gold leaf) #available at good food stores or see below for link to gelatine at Amazon
1/2 cup cream
*use regular white sugar if you can't locate superfine


Place lemon juice, eggs, sugar and butter into a microwave safe dish and whisk.

Heat in microwave at high for 20 seconds, remove from microwave and whisk well. Return to microwave and heat at high for another 20 second burst and then whisk again. Repeat process another 2 times. The mixture should be thick enough to cover the back of a spoon.

Meanwhile tear the gelatine into smaller pieces and pop into a dish of cold water for around a minute until soft. Remove as much excess water as possible and discard the water keeping the softened gelatine sheets.

Whisk the softened gelatine sheets into the lemon curd mixture.

Cover the lemon curd with plastic wrap, pushing the wrap down onto the surface or the curd to prevent a skin from forming and pop into the fridge to chill until set.

Once the curd is chilled. Place the 1/2 cup of cream in a bowl and whip to firm peaks using an electric mixer (I used a hand mixer). Then using an electric mixer (I used the same hand mixer) whip the curd until smooth. Spoon the cream into the whipped curd and mix at high speed until well combined and the mixture is smooth.


Linda Vandermeer is a blogger, baker, maker and author 

Original Ideas, photography and recipes by Linda Vandermeer do not reuse without permission. 

Tuesday, April 1, 2014

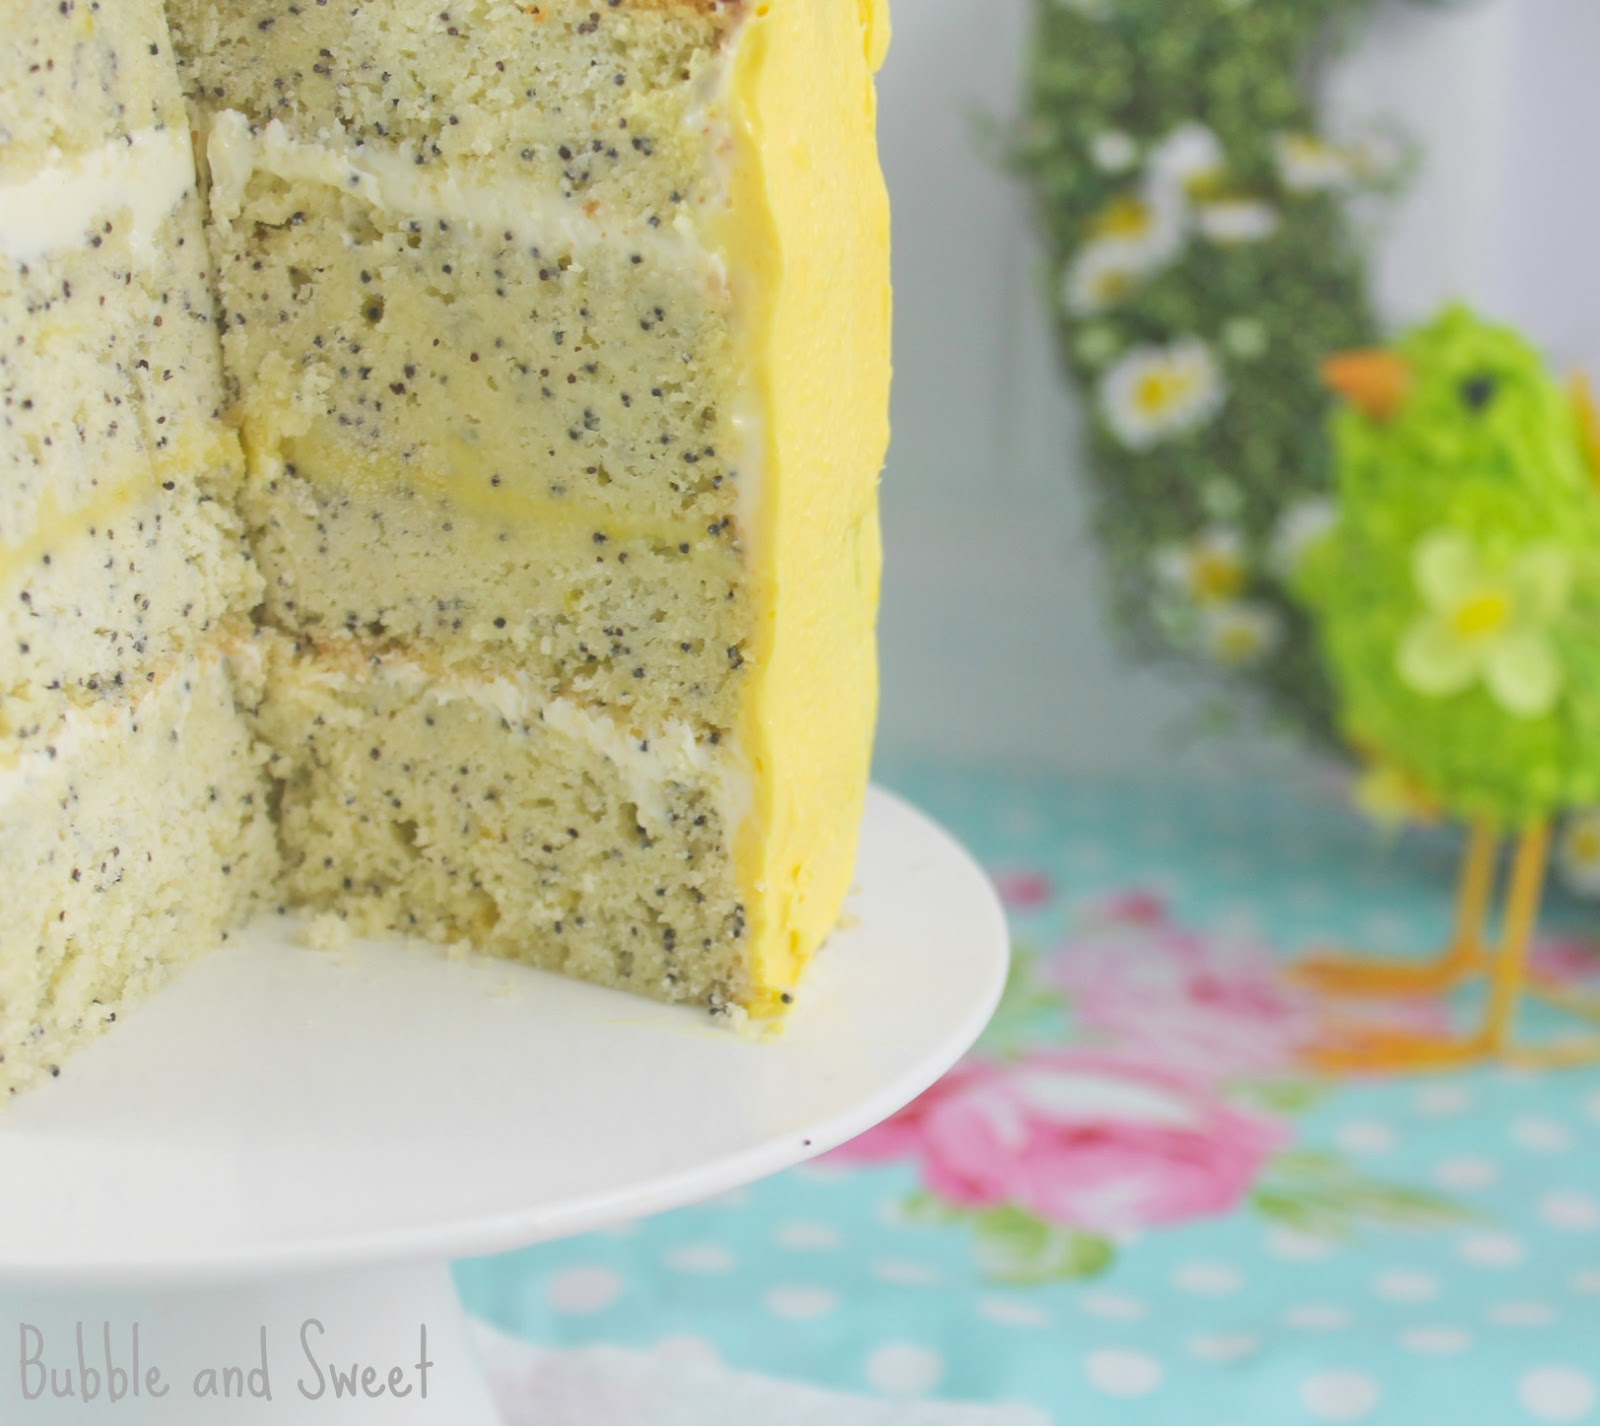
Spring inspired Easter cake and Lemon and Poppyseed cake recipe


OK I know I normally go overboard with ruffles, and ribbons and well pretty much everything. But this time I decided to go simple.


Y'know and let the delicious lemon and poppy seed cake speak for itself.

I've popped the recipe for this cake below so you can try it out yourself. To decorate, just layer the cakes up pop on a crumb coat, make sure the top is even/flat and using a stiff butter cream apply the yellow butter cream around the edge with an offset spatula (or butter knife) using long even upwards strokes.

OK it's a little bit trickier than I made it sound but you get the picture.


I have a skewer in the center, and I chilled the cake in between adding each layer. Oh plus I cut off the brown edges of the cake so it looks nice in the picture (y'all don't have to do that).

Then 'cause it's Easter soon I added some little speckled chocolate eggs.

I'm hoping to pop up a youtube video soon making up a layer cake, I've just been an insy bit sick lately.

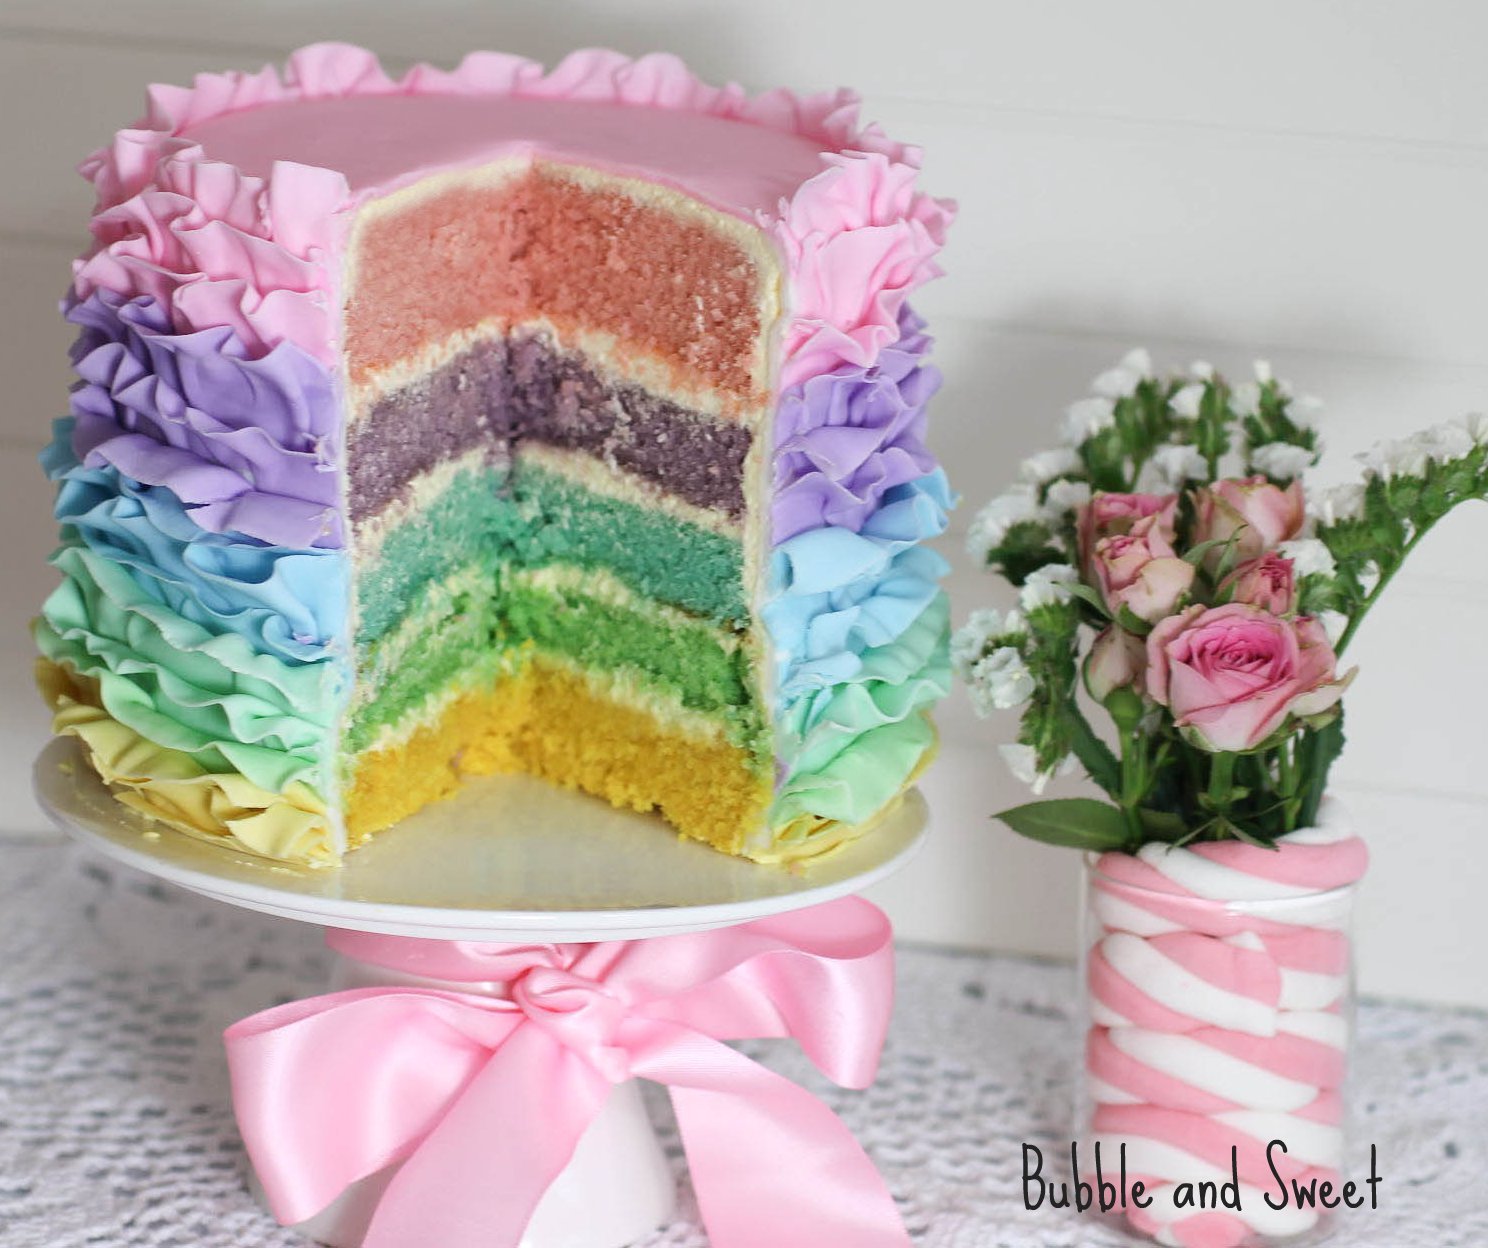
Oh and if simple is just not your thing then below is my Easter cake from a couple of years back


Lemon and poppyseed cake 
Cake in pictures baked in 6" tins. To make a cake as tall as the picture you will need 1 plus another 1/2 batch of this recipe which will make a total of 6 layers.  The cake can also be baked in one 8" tin for 1hr.

Cake in picture is filled with alternate layers of butter cream and  homemade lemon curd/ butter.
 
300g flour (10 5/8oz)
1 Tbsp (1 US Tbsp + 1 tsp) Baking powder
100 g (3 1/2 oz) almond meal (ground almond)
40 g (1 3/8oz) poppy seeds
170g (6oz) unsalted butter room temp
230g (8oz) caster sugar (or regular granulated white sugar)
Grated rind from 2 lemons
4 large eggs
170g (6oz) low fat yogurt (I used Chobani plain)
1/2 cup low fat milk

Line pans and preheat oven to 180 C (170 C fan forced) (350 F).

In large bowl sift together flour, baking powder and almond then mix in poppy seeds pop aside.

In a separate bowl combine milk and yogurt and set aside.


Using electric mixer cream  butter and sugar together at high speed until light and fluffy (a couple of minutes).

Reduce speed to medium low and mix in eggs one at a time, scraping down sides as required.  Add the lemon rind.


Reduce speed to low and add 1/3 of the flour mixture mixing until just combined. Scrap down sides and add half of the milk mixture once again mixing at low speed until just combined. Repeat process adding flour, milk and then finishing with the flour mixture.

Divide mixture evenly between 2 tins, place in the middle rack of preheated oven and bake for approx 50 mins or until the top is golden and a skewer inserted into cake comes out dry.


Linda Vandermeer is a blogger, baker, maker and author of the cookbook ' Sweets on a Stick': More than 150 kid friendly recipes for cakes, candies, cookies and pies on the go!. Published in the US the book is available at most online book stores.

Original Ideas, photography and recipes by Linda Vandermeer do not reuse without permission. 


Sunday, August 11, 2013

Memories are made of Pink Lemonade Recipe


Looking for a delicious drink that will not have the kids running around like crazy because of food colours and additives.

Ok well I can't promise the sugar won't have them running around ;) But this drink is naturally coloured and flavoured plus it's super fun to make.

  For YouTube instructions on how I made the paper rosette's to decorate the cups CLICK HERE

Plus my kids made it themselves (mostly). Yup we didn't just make lemonade we made memories and had a great time doing it.


We whipped up a big batch for Lilli's birthday party and it was a bit of a huge hit. I'm not sure if the fact we popped it into a drink dispenser had anything to do with the fun factor but I do know there was a constant line up of kids patiently waiting their turn until it pretty much ran out.

The drink dispenser fun at Lilli's 9th birthday - CLICK HERE for pictures of the full party and candy table

Memories are made of Pink Lemonade recipe For US conversion use your regular cups and substitute quarts for litres for a similar result. This makes up a huge batch of over 5 litres (about 5.5 quarts). If you like you can substitute around half the water for store bought lemonade (US - that means clear soda like sprite). If you add store bought product it is probable that the drink will then have additives.

2 cups sugar
2 cups water
2 cups lemon juice
1 1/2 cups strained rasbperries (we strained frozen as it's way more economical that way here)
4 Litres (4 quarts) cold water (or to taste)
Optional - Ice, sliced lemon and raspberry to serve

Heat the sugar and water over low heat until the sugar is dissolved and cool to room temperature.

Mix in the lemon juice and raspberry juice and pop in the fridge until cold. Can be stored in the fridge for 2 days in an airtight container.

When ready to serve add the cold water (or lemonade/ clear soda).

* Recipe can be halved. The juice/ sugar syrup mixture can be frozen prior to adding the water in ice cube trays and stored in airtight ziplock bags in the freezer and then defrosted in fridge when ready to use.


Lilli's 9th birthday party was a pretty pink and green party. For more pictures and details on how I stuck to a budget and still managed to make it look good check out my post CLICK HERE:


We also had cupcake decorating as the party activity CLICK HERE for how to host a cupcake decorating paryt details:

 
Linda Vandermeer is a blogger, baker, maker and author of the cookbook ' Sweets on a Stick': More than 150 kid friendly recipes for cakes, candies, cookies and pies on the go!. Published in the US the book is available at most online book stores:

Wednesday, September 15, 2010

Lemon Buttercream Macarons


This month’s Mac Attack challenge #11 was to bake a macaron inspired by a childhood summer memory.

I had a really happy childhood and stacks of fond memories, but I found they were either difficult to create (due to my inability to source mulberries at the moment), or already posted by other members and I was scratching my head when this came to mind.

My mother's jewelry box, filled with treasures I used to sneak in to look at and occasionally dare to try them on. Sometimes I would be allowed to legitimately try them on whilst sitting next to my mother on her bed, I used to feel so special.

Now I actually know that mum kept her real treasures elsewhere and the stuff in that box was costume jewelry, but I still remember that box and it's shiny baubles with a smile on my face.


My box here is filled with a different kind of treasure.


and while I was taking these photo's and piling the macarons in a tower I remembered that I also used to love playing with building blocks and lego so I made a couple of little towers

Oooops - after you get to three its a bit unstable.

My macarons were Lemon Buttercream and raspberry white chocolate.

One of the best parts of these Lemon Buttercream filled Macarons is that they used up 3 egg yolks - wahoo my house is always filled with egg yolk leftovers and any chance I get to use them makes me soooo happy.

Recipe follows.