Showing posts with label cake decorating. Show all posts

Tuesday, April 1, 2014

Spring inspired Easter cake and Lemon and Poppyseed cake recipe


OK I know I normally go overboard with ruffles, and ribbons and well pretty much everything. But this time I decided to go simple.


Y'know and let the delicious lemon and poppy seed cake speak for itself.

I've popped the recipe for this cake below so you can try it out yourself. To decorate, just layer the cakes up pop on a crumb coat, make sure the top is even/flat and using a stiff butter cream apply the yellow butter cream around the edge with an offset spatula (or butter knife) using long even upwards strokes.

OK it's a little bit trickier than I made it sound but you get the picture.


I have a skewer in the center, and I chilled the cake in between adding each layer. Oh plus I cut off the brown edges of the cake so it looks nice in the picture (y'all don't have to do that).

Then 'cause it's Easter soon I added some little speckled chocolate eggs.

I'm hoping to pop up a youtube video soon making up a layer cake, I've just been an insy bit sick lately.

Oh and if simple is just not your thing then below is my Easter cake from a couple of years back


Lemon and poppyseed cake 
Cake in pictures baked in 6" tins. To make a cake as tall as the picture you will need 1 plus another 1/2 batch of this recipe which will make a total of 6 layers.  The cake can also be baked in one 8" tin for 1hr.

Cake in picture is filled with alternate layers of butter cream and  homemade lemon curd/ butter.
 
300g flour (10 5/8oz)
1 Tbsp (1 US Tbsp + 1 tsp) Baking powder
100 g (3 1/2 oz) almond meal (ground almond)
40 g (1 3/8oz) poppy seeds
170g (6oz) unsalted butter room temp
230g (8oz) caster sugar (or regular granulated white sugar)
Grated rind from 2 lemons
4 large eggs
170g (6oz) low fat yogurt (I used Chobani plain)
1/2 cup low fat milk

Line pans and preheat oven to 180 C (170 C fan forced) (350 F).

In large bowl sift together flour, baking powder and almond then mix in poppy seeds pop aside.

In a separate bowl combine milk and yogurt and set aside.


Using electric mixer cream  butter and sugar together at high speed until light and fluffy (a couple of minutes).

Reduce speed to medium low and mix in eggs one at a time, scraping down sides as required.  Add the lemon rind.


Reduce speed to low and add 1/3 of the flour mixture mixing until just combined. Scrap down sides and add half of the milk mixture once again mixing at low speed until just combined. Repeat process adding flour, milk and then finishing with the flour mixture.

Divide mixture evenly between 2 tins, place in the middle rack of preheated oven and bake for approx 50 mins or until the top is golden and a skewer inserted into cake comes out dry.


Linda Vandermeer is a blogger, baker, maker and author of the cookbook ' Sweets on a Stick': More than 150 kid friendly recipes for cakes, candies, cookies and pies on the go!. Published in the US the book is available at most online book stores.

Original Ideas, photography and recipes by Linda Vandermeer do not reuse without permission. 


Monday, January 20, 2014

Navy stripe and pink rose cake and a delightful afternoon tea party


My lovely friend celebrated her birthday a few days ago with an elegant navy stripe and hot pink themed afternoon tea.

It was a charming afternoon with her friends at a local venue with a traditional 3 tier afternoon tea service and I made a cake to work in with the theme.

Although I would love to say my cake was the highlight of the event, it was overshadowed completely by my friend who during her thank you speech graciously took the time to thank every guest and tell them why they were special in her life.

 
Fresh flowers on a simple white base trimmed with navy grosgrain ribbon and a pearl brooch. The cake was a traditional chocolate mud with chocolate ganache (a mix of 70/30 dark/milk lindt chocolate).


And I must tell you ganaching in Queensland in the middle of summer is less than awesome :)

Anyhoo I popped some baking paper in between the flowers and the cake to protect it just in case there was any type of residue on the flowers. You can see it in the close up below if you squint and look carefully.


The tables were decorated with fresh roses and co-ordinating navy grosgrain ribbon.

Guests received a lovely gift of earrings and a decorated cookie (by me) in a bag hand decorated by the hostess to co-ordinate with the theme.

It was a delightful afternoon.


Linda Vandermeer is a blogger, baker, maker and author of the cookbook ' Sweets on a Stick': More than 150 kid friendly recipes for cakes, candies, cookies and pies on the go!. Published in the US the book is available at most online book stores.

Original Ideas, photography and recipes by Linda Vandermeer do not reuse without permission. 


Sunday, February 3, 2013

Sweet Memories royal icing and lace cake


I made a cake.

A white lace cake with rustic rough royal icing and decorations inspired by doilies and broderie anglaise lace. It's all about the contrasting textures.....and the cake.


The cascade of 'flowers' match the doily inspired decorations.


Mr Sweet said I should have just stuck paper doilies on the side of the cake, it would have taken less time.


After all this time he still doesn't get it.........

I guess Mr Sweet and I are like the cake, all kind of contrasting textures, but in the end it just works.

I've called the cake Sweet Memories.


To make the broderie anglaise type lace and flowers I used these eyelet cutter for the little holes, they come in ones like in the link below and also with 3 or 5 holes.


Inside the cake is gluten free orange and almond with dark chocolate ganache. It's covered with royal icing and fondant 'lace' decorations. It was 8 inches (20cm) across and 6 inches (15cm) tall.


I picked my cake stand up from Tacey Lau a while back but I am unsure if she still is selling at the moment. I did find this cake stand below which would be totally perfect for the cake. You can't quite see in the picture until you click the link but it has sweet little eyelet holes like the cake, and they have like matching plates - I know - perfect !!!!
Gracie China, Victorian Rose Collection, 8-Inch Skirted Cake Stand, White Fine Porcelain


Linda Vandermeer is a blogger, baker, maker and author of the cookbook ' Sweets on a Stick': More than 150 kid friendly recipes for cakes, candies, cookies and pies on the go!. Published in the US the book is available at most online book stores:


Or here at fishpond (Aus/NZ)

Sweets on a Stick: More Than 150 Kid-Friendly Recipes for Cakes, Candies, Cookies, and Pies on the Go!

Sweets on a Stick also available at the Bleeding Heart Brisbane: contact details info@bleedingheart.com.au

Sunday, November 25, 2012

Lollipop and Candy Christmas Tree Cake tutorial


Willy Wonka was one of my favorite movies growing up.

Oh how I wished to win a golden ticket and be transported to a place where everything was made of chocolate and candy.

OK I guess I'm not surprising anyone with that little revelation, and I doubt I was alone in my wish, but it might go a little ways to explaining why I am the way I am.


I think this Christmas cake is a little bit Wonka and a little bit Dr Suess. In fact originally I was going to make each of the layers a bit topsy turvy......but then I got a bit lazy. Well not lazy so much as I needed to do some other stuff.

'Cause oh my goodness it's nearly Christmas.

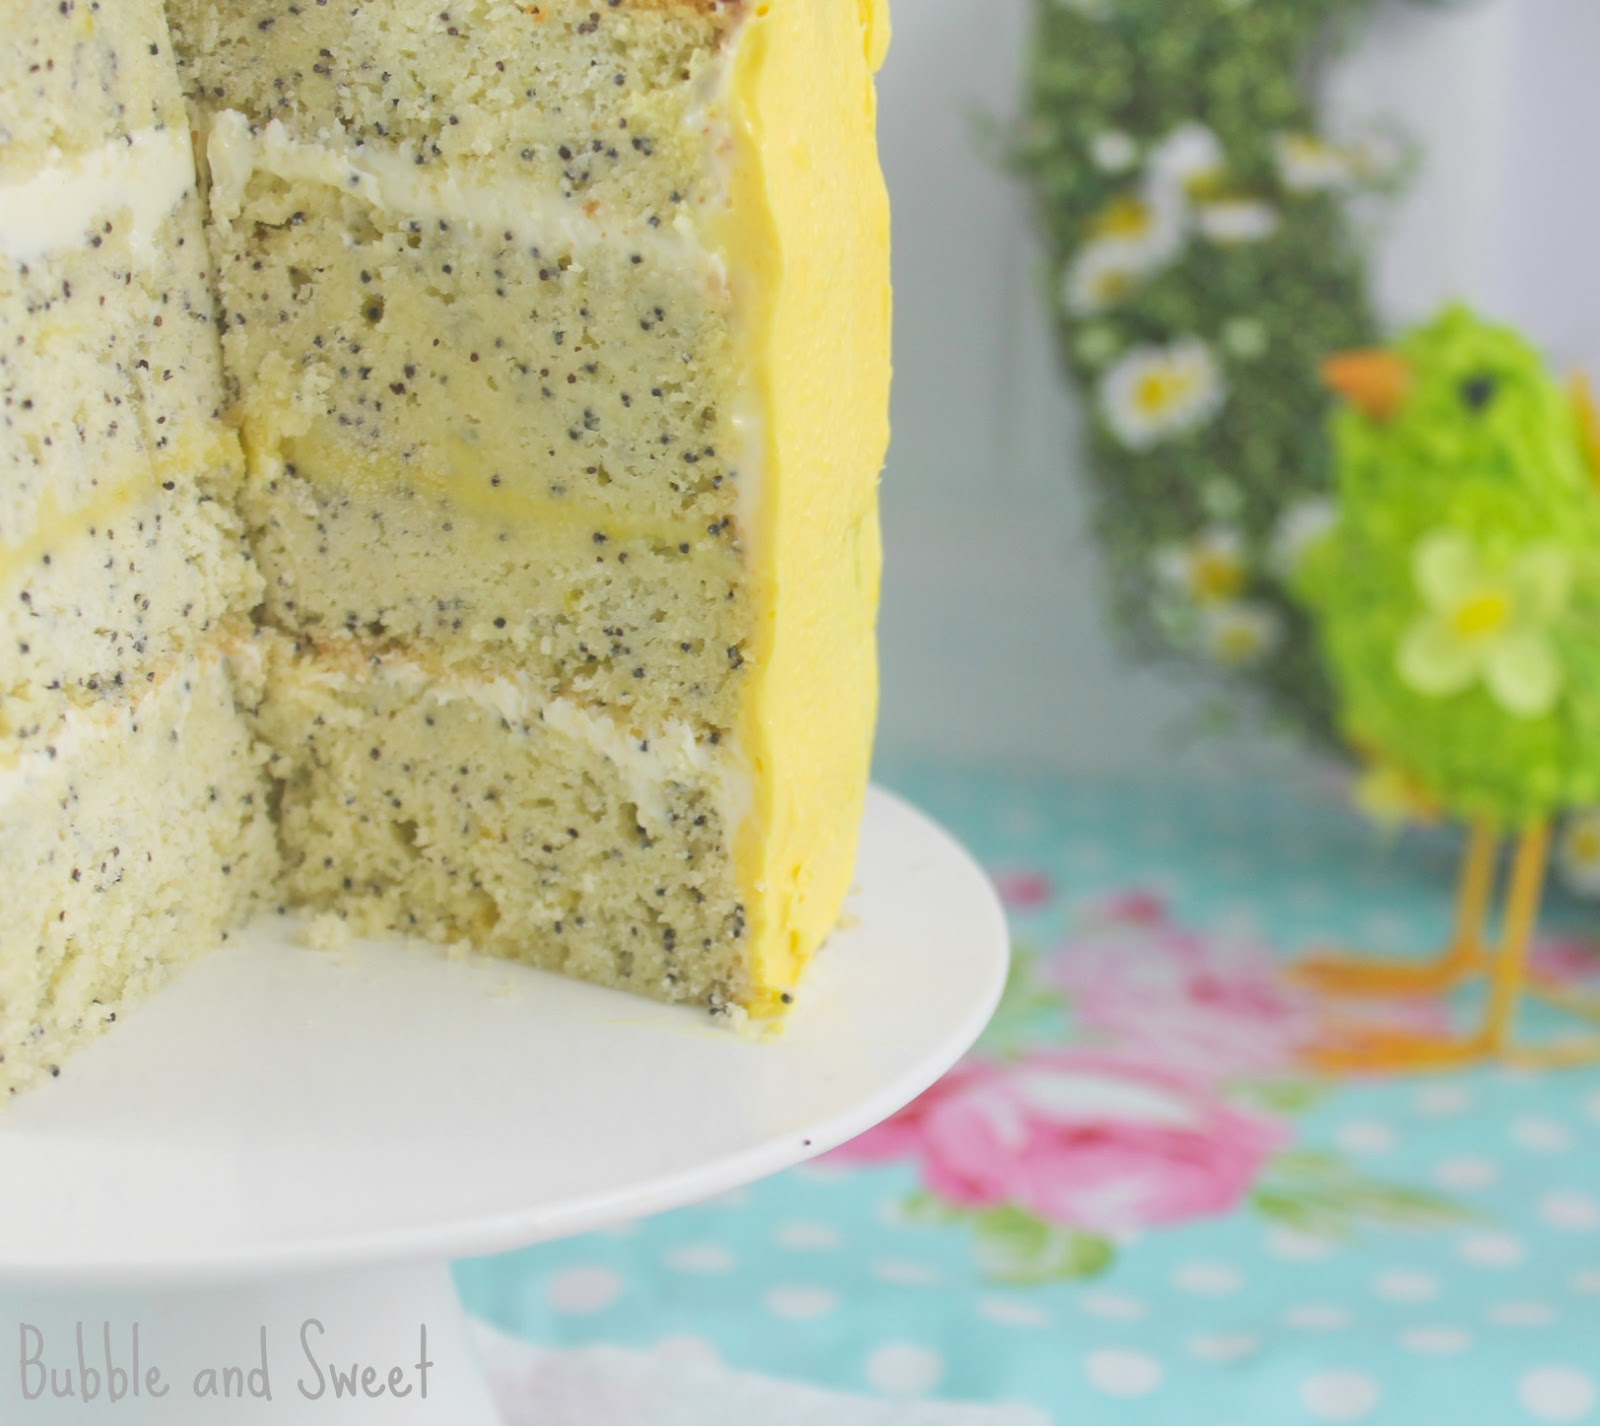
Anyhoo back to the cake - the inside cake is a cranberry, almond and hazelnut gluten free cake I created which was quite delicious and moist.


Decorations are handmade fondant lollipop and lime green sixlets* (little chocolates coated with a hard candy shell).


If you wanted to you could use a real lollipop in place of the fondant decoration. I chose not to as I find that they become a little tacky and sticky when left out unwrapped in our humid weather.

*Sixlets are available from Spotlight in Australia, in the US you can get them at Walmart and Target, if you can't find target just replace with another type of sweet.


Lollipop and Candy Christmas Tree Cake
NOTE - the first couple of pictures are from last years pretty ruffled tree cake and are green follow the written directions and use white fondant.

4 x 16cm (around 6") cakes - brown edges, tops and bottoms trimmed, ensure that the cakes are level
Cake board (16cm or around 6")
White chocolate ganache set at room temperature (make the day before assembling the cake)
large knife
offset spatula
White Ready Roll Fondant (I used Bakels brand)
Red Ready Roll Fondant (I used Satin Ice brand)
a small amount of green fondant (I colored white fondant with Americolor Electric Green)
large rolling pin
small sharp knife
small rolling pin
cornflour/ cornstarch
small brush and water
skewer
green sixlets

* Fondant dries out very fast. You must work quickly and keep in an airtight container when not in use. Knead well before use.

Using a small amount of ganache adhere one of the cakes to the cake board, spread a generous amount of ganache evenly on the top of the cake and then place a second cake on top of the first cake layer. Place into the fridge to set. Once set remove from the fridge and spread on an even layer of ganache on top of the second layer. Place the 3rd cake on top and pop the cake into the fridge for the ganache to set.

Remove from fridge spread an even layer of ganache onto the third cake layer and pop the 4th layer on the top, quickly pop a skewer or dowel in the center of the cake pushing it thru all 4 layers and return the cake to the fridge to set.

Once the ganache is set securely, use a sharp knife to shape the layers of cake into a cone. (I actually used some of the off cuts to make another layer which you can try if you feel confident with your carving)

Picture of last years tree cake.  This years cake was gluten free cranberry, 
sorry I didn't take any construction photo's this year.

Reserve any offcuts of the cake to make cake pops :)

Using an offset spatula spread the remaining ganache on the sides of the cake cone, making the sides as smooth as possible. I popped the cake into the fridge for the ganache to set and then smoothed on a final layer.
Smooth ganache all around the sides of the cake

Dust the workbench with cornflour (cornstarch) and using the large rolling pin roll out the WHITE fondant large enough to cover your fondant cone. I shaped my fondant into a rectangle which was tall enough in width to cover the cone from the bottom to the tip of the cone and wide enough to wrap around the base of the cone.

Picture of last years tree cake.  This years cake was white fondant, 
sorry I didn't take any construction photo's this year.
 
Pick the fondant up and wrap it around the cake cone (I'm using a fake styro one for these pictures), smooth the fondant down along the whole edge opposite where the seam will meet (that would be the middle of your large piece of fondant). Work quickly and carefully  working the fondant onto your cake until you get to the seam at the back, wrap one layer over the top of the other and using a sharp knife cut a straight seam down the back through both layers. You can then easily remove the top layer of overhang from one side. Then pull back the fondant to get to the underlayer of overhang and remove that. Push the seams together as neatly as possible.

Picture of last years tree cake.  This years cake was white fondant, 
sorry I didn't take any construction photo's.

Neatly trim any fondant overhand from the bottom of the cake using the sharp knife.


Roll out some of the red fondant until about 4mm thick and cut along rectangle strip (I made myself up a little cardboard template around 8cm X 2cm (3" X 3/4"), cut that strip in half longways and then do the same for the white.

Layer them on top of each other, you may need to brush the teensiest amount of water on each layer to make them stick.

Cut the layered strip in half longways to make 2 striped long strips.


Using a small rolling pin. roll out the striped fondant strips until they are quite thing and long. Trim the edge and roll it up a few cm's (1 ").


Brush a little water onto the cake and then stick the fondant to the cake by resting the rolled up section of the fondant strip on your baseboard (I was working straight onto my cake stand) and pressing the striped thin strip section up onto the cake.


Make more of the fondant stripes and work your way around the base of the cake using the same steps and technique, allow to dry until the rolled stripe sections are quite firm to touch.

Fold up little pieces of cardboard to make support stands (see picture below for example). I made mine so that the lengths of striped 'candy' fondant were approx 1/4 the height of the cake so I ended up with 2 rows.)


Make more of the striped fondant stripes with the rolled base and then attach them to the cake. The rolled section should be about a quarter of the way up the cake and the cardboard support should sit on the bottom row with the support just resting under the next layer to hold it up).

Continue working around the cake until that layer is complete, allow to dry until the rolled sections are firm to touch.

Using the above instructions and techniques complete another 2 rows so that the whole cake is covered in striped fondant 'candy' type decoration.


Make a fondant lollipop by rolling out a bright green and a red log of fondant about 20cm (8") long. Place the fondant together hold the ends and then twirl each end in the opposite direction so the twisted fondant looks like a rope. Gently roll a little with the palms of your hands to smooth out the 'rope' and then swirl the 'rope' around to make a lollipop shape (see picture). Place a wooden skewer into the base of the lollipop and allow to dry until firm.

Once all the rolled fondant stripes are dry on the cake you can carefully remove all the cardboard support structures, be careful not to snap any of the rolls off the cake, but if you do you can take a little extra white fondant, press it together with a small amount of water until it makes a very thick plaster like past and use it to stick the rolls back in place.

Using more of the white fondant paste (fondant mixed with a little water) stick on the sixlets (of your choice of sweet) in random spots around the cake.

Take the fondant lollipop on the skewer and push it into the top of the cake.

As long as your cake and frosting are not perishable cake can be stored/ used as a decoration (not in an airtight container or fridge) for about 4 days safely. Mine lasted well for 1 week.


Linda Vandermeer is a blogger, baker, maker and author of the Children's cookbook Sweets on a Stick: More Than 150 Kid-Friendly Recipes for Cakes, Candies, Cookies, and Pies on the Go! Published in the USA in 2011 the book is still available at Amazon and many online bookstores.

Affiliate links may earn me money and contribute to supporting this blog.

Original ideas, photography and recipes Linda Vandermeer please do not reuse without permission.

Sweets on a Stick: More Than 150 Kid-Friendly Recipes for Cakes, Candies, Cookies, and Pies on the Go!

Thursday, November 15, 2012

Sneak Peek - Lollipop and Candy Christmas Tree Cake


Introducing my Candy Inspired 3D Christmas Tree Cake.

I'm supposed to be baking delicious cookies for my demonstration class on Saturday........but I couldn't help but make time to whip up this Lollipop and candy inspired Christmas Tree when someone mentioned that there was only 6 weeks to go until Christmas day.

Is that true - Eeeek! Well I didn't check I just panicked and designed my Christmas cake for this year.


Anyhoo - the cake is a gluten free cranberry cake with candy inspired decoration made with fondant and then decorated with light green sixlets.

If you want the DIY instructions on how to make this cake make sure you subscribe (for free) to this blog by entering your details over there in the top right hand corner so you don't miss out when I post.......or y'know just keep checking back. It'll be soon, maybe Sunday night.


If this red candy inspired cake is not to your taste, you can always check out my Christmas Cake from last year - the ruffled Anti Fruit cake. If you are looking for the tutorial and instructions for last years ruffle cake CLICK HERE 


Oh well, now I have my Christmas cake sorted out for this year. I can focus on baking those cookies for the demonstration on Saturday, which by the way still has a couple of spots left I think.

It's on the 17th of November as part of Hands on Brisbane. I will be demonstration how I roll out the cookie dough, how I get an even finish and then decorate a range of cookies from elegant snowflakes to cute babushka snowmen and penguins. The demonstrations are very interactive and limited to 15 people so you can feel free to ask me as many questions about cookies or blogging that you would like. The sessions are on from 10:30am to 12:30 at the Bleeding Heart Cafe Brisbane and are $30. Tickets are available HERE. If you have difficulty booking pop me an email or facebook message me.


Linda Vandermeer is a mum, blogger and author of Sweets on a Stick: More than 150 Kid Friendly recipes for cakes, candies, cookies and pies on the go. You can pick it up at all good online book shops including these shops:


Or here at fishpond (Aus/NZ)

Sweets on a Stick: More Than 150 Kid-Friendly Recipes for Cakes, Candies, Cookies, and Pies on the Go!

Sunday, July 29, 2012

Chocolate Hazelnut Cakes with Chocolate French Butter Cream and it's Gluten Free


Many years ago back when I worked in an office I used to pop into a little boutique store that made a delicious hazelnut chocolate cake on the premises. I used to walk half way across the city some lunchtimes in the hope that it would be on the menu.

Oh how exciting it would be if I opened the door and the delicious smell of just baked chocolate cake greeted me.

Funnily enough my work moved offices to just around the corner of the store at about the same time the store changed owners and sadly the hazelnut chocolate cake was removed from the menu.


That was a long time ago now and I have tried a few chocolate hazelnut cake recipes over the years and found them sadly lacking, mostly over moist and bordering on gluggy.

So I decided to come up with my own recipe. It's definitely not the same cake but it is delicious with a chewy just moist enough texture and lovely robust hazelnut flavor. Also it is gluten free which I know is a big plus for many of you.

and y'all know I just love to make my cakes mini at any opportunity. I received this fabulous Baker's Secret Loose Base Dessert Pan from Kitchenware Direct which I have been coveting for a while and with the ingenious pop out bottoms it was perfect for making these mini cakes. Plus dishwasher safe. I can't ever love that enough.

I paired the cakes with a french chocolate butter cream because, well, it is pretty delicious plus I always despair of the amount of egg yolks I waste and this was a perfect opportunity to use up a couple.


Then I played around with a few decorative toppings......... macarons,


raspberries......


then macarons plus raspberries.


They were all equally delicious :)

I had the gold mini macaron shells left over from a party we had on the weekend and I filled them with a little of the excess butter cream. If you don't  happen to have a batch of mini macarons just lying about you can use something else - I thought a lindt ball or ferrero rocher might look good. Otherwise if your looking for a recipe for macarons CLICK HERE.


If your don't feel like whipping up a batch of butter cream the cakes are actually quite nice on their own, served with a little cream or with a warm chocolate ganache.


The ones in the pictures are about 4cm high and they look lovely, but I recommend for sensible eating you should probably make them about half the size. If the smaller sized cakes are not quite enough you can always have another serve.

Chocolate Hazelnut Cakes (Gluten Free)
makes 12 cakes 2cm (0.8") high or 6 cakes 4cm (1.6") high (the ones in the pictures are 4cm high). I used large eggs.

4 egg whites
1 1/2 cups hazelnut meal (ground hazelnuts)
1 cup caster sugar
1/4 cup cocoa (unsweetened) sifted

Preheat oven to 140 C (280 F).

Lightly spray loose base dessert pan with cooking spray or oil.

In a large clean bowl whip egg whites until soft peaks form. Mix in 1/4 cup sugar and mix until the sugar has dissolved. Scrape down the sides as required and continue adding sugar approximately 1/4 cup at a time until the sugar is all added and dissolved. The mixture will appear stiff, white and smooth.


Add the hazelnut meal and the cocoa and fold in until just combined.


Divide the mixture between the 12 cups in the tray filling them just under 1/2 full and smooth the tops as much as possible with the back of a spoon.

Ooops that's a bit messy - this is what the mixture will look like before baking. 
Fill the individual cups a bit less than shown to make 12 cakes from the mixture.

Bake for 35 minutes, the tops of the cakes should be hard when gently tapped.

*If you choose to make 6 high cakes instead divide the mixture between 6 of the cups and bake for 40 minutes.

Remove from oven and using a thin blade knife gently run the knife around each cake to release from the side of the loose base dessert pan. The cake is a bit sticky so do not worry if they do not release cleanly. Be very careful with the knife so you do not scratch the baking pan.

Carefully pop each of the cakes out of the tray by putting your fingers underneath the tray and pushing the loose bottom up.


The tray will still be hot at this stage so be very careful and use a tea towel or other protection to hold it.

Pop the cake onto a plate and using the thin blade knife slide the cake off the loose base, it should release easily.


Allow to cool to room temperature and decorate with swirls or dots of chocolate french butter cream (recipe below) and decoration of choice.

Undecorated cakes can be stored at room temperature for up to 4 days in an airtight container. Cakes decorated with butter cream can be stored in the fridge for 3 days in an airtight container, remove from fridge at least 10 minutes before serving. Cakes decorated with fruit are best served immediately.

Chocolate French Butter Cream makes enough to generously top 12 cakes. Recipe can be halved.


Heating the sugar syrup to 118C (245 F) apparently heats the eggs sufficiently to kill any potential salmonella bacteria. The butter cream recipe will still work if you just warm the water and sugar to make a syrup but you can not be assured that the eggs will have been sufficiently heated to reduce the possible health risk.

4 egg yolks
3/4 cup sugar
1/4 cup water
250 grams (8 7/8 oz) unsalted butter cut into small cubes
150 grams (5 1/4 oz)dark chocolate melted and cooled slightly

Place water and sugar in a saucepan and heat until the syrup reaches 118C (245 F), brush down the sides of the pan as necessary with a brush to stop crystallization.

Just before the syrup reaches the required temperature Place the egg yolks in the bowl of a stand mixer and using whisk attachment beat until slightly bubbly and frothy.

 
If you have a shield for your mixer ensure it is in place. Continue to whip the egg yolks at high speed while you carefully pour in the hot sugar syrup in a slow stream.

Keep whipping the egg yolk and sugar syrup until the mixture becomes very light and fluffy has increased in volume and cooled down. The outside of the bowl should feel comfortable to touch, around room temperature. (If the mixture is too hot you will melt the butter at the next step).


With the mixer still on high speed add the butter a few cubes at a time until it has all been incorporated. 

Add the cooled chocolate and mix until well combined.

Items decorated with french butter cream should be kept refrigerated and removed from fridge 10 - 15 minutes prior to serving. consume within 3 days.


disclosure I received the Baker's Secret pan from Kitchenware direct. No financial compensation was provided and the words and ideas used in this post are my own.