Friday, December 30, 2011

Caramel mini cheesecake and dulce de leche instructions


When I was young we used to cook up condensed milk and eat it out of the tin.

I loved how with just heat regular condensed milk would change consistency and turn golden, sticky and yummy, I didn't realise what we were doing was making Dulce de leche. I would have felt so worldly if only I had of known.


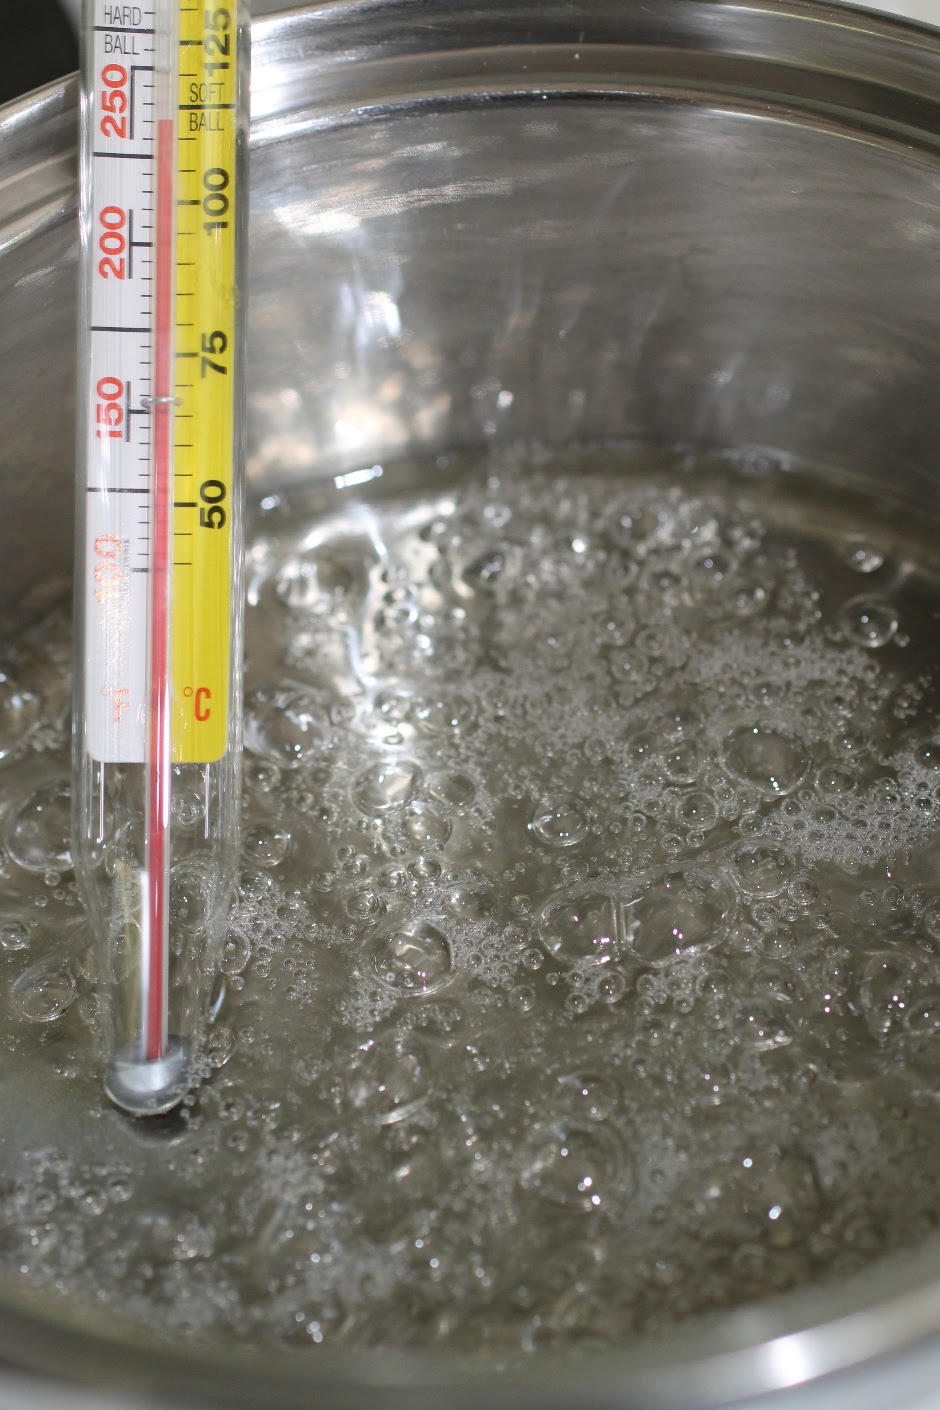
Dulce de leche is a fancy way of saying condensed milk cooked up in it's tin in a big pot of simmering water for a few hours. It turns into that rich flowing delicious looking caramel you see on the top of these cheesecakes. You don't need to add anything, it just......is.


Really it is super easy but if your not into the whole cooking for 4 hours thing you can buy dulce de leche already made up at some good deli's or grocery stores. I noticed that Amazon has a stack and it seems that Nestle in some countries do all the hard work for you - nice!

I know - YUM

In Australia you can buy Top and Fill caramel and use in place of the home made dulce de leche which is perfectly acceptable (although I prefer the taste of the home made dulce de dulce, but y'all know I generally say use what makes YOU happy).

When I make up tins of dulce de leche I either make it up after the kids go to sleep or when they are at nana's house as I am a bit uptight about boiling water and if they are in the house I have to hover near the stove the whole time. (Yes Mr Sweet calls me a helicopter mum and sometimes even makes those annoying helicopter sounds to me - yeah I know really !)


Dulce de leche or Caramel baked Cheesecake
You will need 2 tins of dulce de leche - one for the cheesecake recipe and one to spoon over the top. You will not use all the second tin so you could either freeze it to use another time or heat it up and spoon it over icecream, or cake, or pretty much anything :) 

Dulce de leche (you can keep in an airtight container in the fridge up to 1 week)
Tins of condensed milk with 2 holes pierced in the top (you will need 2 tins for this recipe)


Place tins of condensed milk into a large deep saucepan with water surrounding them. The water should come up to he top of the condensed milk tins but not lap over the rim (otherwise you will get water into the holes). Bring the water to simmer and cook the tins for 4 hours. Keep adding water to the saucepan so the water remains level with the tops of the tins (you know just ever now and then don't get too uptight about it).

After 4 hours turn off the heat, allow to cool and then remove the tins from the saucepan. Take off the top of the tin and scoop out all the caramel/ dulce de leche.

Cheesecake - makes 14 largish mini cupcakes
14 Oreo cookies
625g (21oz) cream cheese at room temperature
1 tin condensed milk made into dulce de leche (see above instructions)
3 eggs at room temperature
14 large muffin papers (I bought these ones from woolies)
Packet of soft caramels for decoration (optional) I used Jersey caramels

Preheat oven to 140C (280 F)

Line the muffin tins with the muffin/cupcake papers. Place one single oreo in the bottom of each paper.


Beat the cream cheese using a mixer at medium speed until just smooth, add the dulce de leche.


Mix until well combined. Reduce speed to low and add the eggs one at a time, beating after each addition until just combined.


Spoon the mixture into the large muffin papers dividing mixture evenly between the papers. If you are using large ones like I did the mixture should make 14, if you only have smaller cupcake cases do not overfill the cases as the mixture will rise a little during baking, make them around 3/4 full.

Bake until the mixture is just setting in the center, around 16- 20 mins for the larger size muffin cupcake, check after 14mins if you are making smaller sized cakes.

They will be cooked when the middle of the top of the cheesecake is no longer wet and looks just set.

Allow to cool in the trays for 10-15min and then pop in an airtight container in the fridge until chilled.

Serve topped with extra dulce de leche and caramels.

If you would like to make the dulce de leche more fluid for serving like it appears in the pictures heat it up on short bursts at high in the microwave in a microwave safe bowl and mix with a spoon until smooth.

Cheesecakes will keep in airtight container up to 3 days in fridge.


and here is the link to my book Sweets on a Stick and there actually is a cheesecake pop recipe in the book, which is super delicious if I do say so myself.....and I promise if I ever work out how to pop a link in the sidebar I will stop popping these in every post :) I know I have said it before but it is a US Release however there is a conversion chart in the back to the book for metric.


Or here at fishpond (Aus/NZ)

Sweets on a Stick: More Than 150 Kid-Friendly Recipes for Cakes, Candies, Cookies, and Pies on the Go!
Also featured in....


Tuesday, December 27, 2011

Live love laugh and eat more cake New Years red velvet ruffle cake

These are my hands :)

WOW where did that year go?

I'm not really sure but I do feel like I did a lot this year and I've decided this coming year I'm gonna try and relax a little bit more.


and of course I made a cake to celebrate. Well actually I made this cake to match some dresses I bought the girls which are white and ruffled with a black velvet bow. I thought it would be cool to cut into the cake and have a contrasting cake so I used the red velvet cake recipe (double batch) from Sweets on a Stick: More Than 150 Kid-Friendly Recipes for Cakes, Candies, Cookies, and Pies on the Go!
.

It was supposed to have some pretty glittery silver round decorations around the black ribbon 'flowers'. However they were not to be....on the morning I was finishing the cake I went to attach the extra decorations and they had been demolished by my 3 year old.

Which will obviously teach me to leave stuff in the kitchen instead of the 'out of bounds' cake room.

Live and learn.

Or then I decided in keeping with my new relaxation mantra it should be live, laugh, love.....and eat more cake. Who cares if the cake has silver glittery balls, I just squished up some extra black ruffles to fill the spaces and it tastes just as good.


To see the method I use to make my ruffle cakes CLICK HERE - just use all white ruffles on a tallish round cake and then make up some extra ruffles in black. Squish the ruffles together and arrange on top of half the cake and then twirl some of the ruffles up to make ribbon flowers and glue (with edible glue) the flowers cascading down the side of the cake.

now I'm off to relax, and maybe eat some cake.


Top 2 photos and photo below by Naomi V Photography
Girls dresses by Mischka Aoki Couture I bought mine at Raindrops and Roses
Red Velvet cake recipe from Sweets on a Stick: More Than 150 Kid-Friendly Recipes for Cakes, Candies, Cookies, and Pies on the Go!

Yup that's me with Bubble and Sweet

Thursday, December 22, 2011

Rudolf Macarons Ginger spice latte macs for Christmas


Awe look at poor Rudolf the red nosed mac, all of the other mac's used to laugh and call him names......but then I took them to a party and someone ate them all:)

That'll teach 'em to be bullies, or not I guess.

Anyway I know I'm not the first to make Rudolf Macarons because like I always do when I get an idea I did a google search, you know not in a stealing ideas way but more in a 'are there already a stack of these out there cause if there are I'm not gonna do it way'.


I did find some pretty ones with little chocolate button noses and pretzel antlers HERE, but I thought my idea for a mini macaron nose was cute and different enough it was worth sharing, plus I had already made up the little noses and it seemed a great opportunity to use up some of those DIY royal icing eyes I make up :)

Because these are so Christmassy I am going to pop them over in the Mac Tweets Mac Attach # 25 Seasons & Holidays challenge.

I think this will be my last Christmas food post this year unless I get totally inspired by something that I MUST make.

and I know it's not cool to brag but I'm going to anyway - Although I do not normally make large cakes I can and I was featured on one of the most lovely cake blogs around Half Baked:The Cake Blog with my 3D ruffled Christmas Cake as one of the 12 cakes of Christmas. I was thrilled as there were a bunch of world renowned cake artists along side my cake, so if you love cake awesomeness you might want to pop over and check out the yumminess.


Rudolf Macarons
If your not into making your own macarons you could just use shop bought ones and they would still be as cute.....perhaps. Also you might then prefer to use red chocolate buttons (like M&M's) in place of the mini mac's.

Filled Macarons (recipe below)
Pretzels cut it half
Mini Red Macarons unfilled
1/2 cup royal icing in a ziplock back with a small corner cut out
edible premade eyes (make your own with left over royal icing see how HERE)
edible black pen - I prefer the americolor ones

Using a small amount of royal icing adhere the small red macaron 'nose' to the top of each macaron, then adhere the edible eyes. Push the half pretzels into the filling so it appears they stick out of the top to look like antlers.

Use the edible pen to draw on a mouth.

Alternatively you could ditch the premade eyes and just use the white royal icing to pipe a couple of circles for the eyes and then use the edible pen to draw on black pupils.


Macaron Shells makes around 20 filled macarons


190 gram (6 5/8 oz)almond meal (almond flour)
190 gram pure icing sugar (6 5/8 oz powdered sugar)
190 gram granulated sugar (6 5/8 oz)
48 grams water (1 5/8 oz)
140 gram egg whites aged split into 2 lots of 70grams each (5 oz split into 2 lots of 2 1/2oz each)*
brown food colour
Red food colour

*ageing egg whites refers to separating the yolks from whites and then leaving the whites to age for a few days. This can be done on the counter if your countries climate permits or in the fridge, wrap the bowl with plastic wrap and then pop a few holes in the top. Alternately you can pop the egg whites in the microwave on high for 10 seconds or so - I used the microwave method in this batch pictured.

1. Mix the ground almonds and icing sugar together and pulse a few times in food processor to make almond meal finer. Do not over process as the meal can become oily. Sieve into a large bowl. Add colour and 70g (2 1/2 ounce) of the egg whites to the sugar/almond mixture but don’t mix in.


2. Place remaining 70g (2 1/2 ounce) of egg whites in bowl of mixer fitted with the whisk.

Yup - I really use this super old fashioned thermometer I have had for about 20 years to make my macarons

3. Pop granulated sugar and water into saucepan stir to combine and cook without stirring to 118C (245 F). Brush down the sides with a pastry brush dipped in water as required to avoid the sugar crystallizing. Once the mixture reaches 115C (240 F) start mixing the egg whites on high. Make sure you have a pouring shield on your mixer, when the sugar syrup reaches 118C (245 F)remove from heat and immediately pour in a thin stream down the side of the mixer bowl continuing to whisk on high.
4. Continue to whisk the meringue on high until the side of the bowl is only a little warm to touch, around 50C (120 F).
.

5. Add meringue mixture to almond mixture and using a large spatula fold the mixture together until it starts to shine and forms a ribbon that disappears back into the mixture after about 30 seconds.

I don't use a piping tip - I just cut the end off the piping bag for macarons

6. Add the mixture to a piping bag fitted with a plain tip (or just cut the end of a disposable piping bag) and pipe in lines onto parchment lined baking sheets. To make the macarons as even as possible I apply a constant slow pressure to the piping bag and count a few numbers like up to 3 for each one.

Waiting to form skins after piping


7. Set aside for about 30 minutes or until the macarons have formed a skin so that the macaron mixtture does not stick to your finger when gently touched.

Baking in the oven. The macarons will rise after a few minutes in the oven and develop a frilly foot

8. Meanwhile preheat oven to 140C (285 F). Once ready bake the macaroons for around 13 to 15 minutes depending on size, they should not be browned. Remove the baking trays and immediately slide off the macarons and the parchment onto the work surface and let cool completely before removing the shells.

9. Once cooled match disks into like sizes and sandwich together using the ganache.

#For Rudolf macarons you will need to split out a small amount of mixture just after it is combined, leave it to the side until you have finished piping the brown macarons and then color the small amount of mixture bright red and mix until it is shiny and disappears back into into itself within 30 seconds. Put mixture into a piping bag and pipe out small round noses on another prepared baking tray.


Ginger Spice White Chocolate Ganache
The ration of chocolate to cream is quite high in this - it is full summer here where I live, you can increase the cream if you prefer a softer ganache or if it is very cold.

75g (2 5/8 oz) cream
300 gm (10 5/8 oz) white chocolate
1 Tbsp ground ginger (1 US tablespoon + 1tsp)
1 tsp ground cinnamon
3tsp instant coffee
pink food colouring - I used Wilton gel colours

Bring cream to boil, remove a few tablespoons to a small bowl and mix in the instant coffee until dissolved pour the coffee mixture and the remaining hot cream over finely chopped white chocolate and stand 5 mins. Stir until all chocolate has melted and mixture is glossy mix in ginger and cinnamon. Allow to set overnight at room temperature of chill in fridge until just set.

I have provided a recipe for ginger spiced latte ganache above. In the pictures I have mixed the ganache with about 3/4 cup of Italian Meringue Buttercream to make it a bit fluffier for the piping and used a Wilton #22 tip. But you can just use the ganache as is and they taste great. The Italian Meringue Butter cream recipe is from The Whimsical Bakehouse cookbook which I have previously recommended HERE

Finally if you are looking for something fun to do with the kids this year over the Christmas Holidays check out my cookbook which is a US release and aimed at getting the kids in the kitchen with you and having fun baking up a storm with easy kid friendly recipes.....it's available at most online stores including these ones.

Amazon,


Or the book depository (Click HERE)

Or here at fishpond (Aus/NZ)

Sweets on a Stick: More Than 150 Kid-Friendly Recipes for Cakes, Candies, Cookies, and Pies on the Go!