

I just celebrated my birthday, and with the kids pretty much grown up, finding a night we can all be together to have dinner in between their casual jobs, school, uni and other commitments is a bit tricky.
I was sitting down Friday night working out what day we should organise my dinner and realised that if we didn't do it that Sunday it would be a month again before we would all be together so that's how this cheesecake came to be.
My Chocolate basque cheesecake recipe (click here for link) is one of my go to easy favourites. If you make it in the morning it can actually be served that night. I decided I didn't want the lead up to my birthday to be spent rushing to put together a layer cake and I had already been thinking of changing up my cheesecake recipe to use some of the pistachio cream I had in my fridge and luckily for us it worked out perfectly.
Basque cheesecake is crazy easy to make, my recipe has 5 ingredients plus a pinch of salt and it's just about making sure everything is room temperature and mixed well at a low speed. Even lining the tin is easy just scrunch up baking paper and press it into the tin. It's the ultimate lazy dessert.
I did add an extra step by decorating around the edge with more pistachio cream and chopped pistachios. Just to make it a bit more birthday-ee. But you can totally miss that out and it will be gorgeously burnt and delicious.
I still want to make myself an actual proper layered birthday cake, it will have to wait at least a month but that will give me enough time to come up with some fun ideas.

Happy Baking
xx
Linda
Edit update 2/8/2025 I've popped up a quick YouTube video showing me making the cheesecake. You can pop over to my YouTube channel by clicking HERE :)
Pistachio Basque Cheesecake - there is no extra sugar in this recipe, there is enough in the pistachio cream. Recipe makes a 6" cheesecake which will make 6-8 snack serves. Store in fridge for up to 3 days. Can be frozen wrapped individually in plastic wrap and thawed in the fridge.
450g (16oz) cream cheese at room temperature
300g (10 1/2 oz) pistachio cream
3 eggs room temperature
1 tsp vanilla
225g (8oz) thickened cream (dollop cream) (heavy cream)
good pinch salt
Optional decoration extra pistachio cream around 1/4 cup and 1/4 cup chopped pistachio nuts
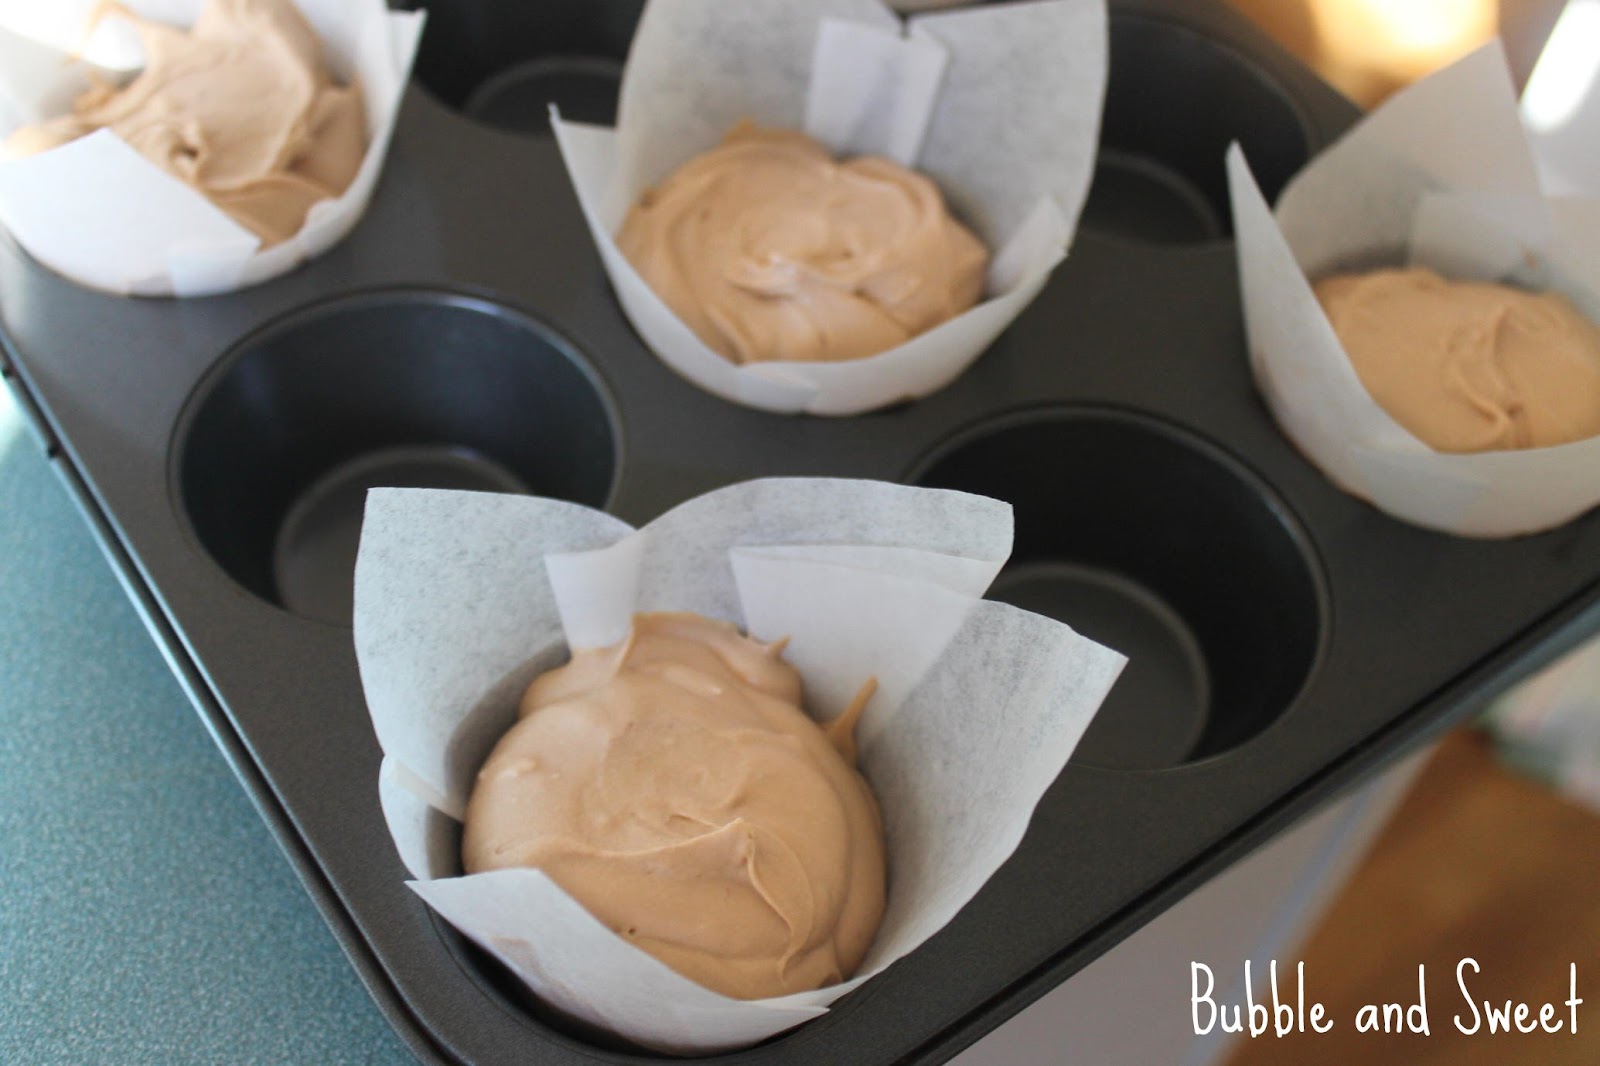
Line a 6 inch wide by 3 inch high, round baking tin with baking paper. To do this crumple up the paper in your hands and then place over the baking tin and press down I used a spoon to press a line around the bottom rim and then turn the edges over the top rim.

Place cooking rack into middle of oven and preheat to 220 C Fan forced (430F).
Make sure the cream cheese is at room temperature so the mixture will be silky smooth. Place into mixer bowl and mix at low speed until smooth and creamy. You do not want any lumps at this stage and also we are not trying to incorporate extra air or volume. The room temperature ingredients and slow mixing are key steps.

Scrap down the sides of the bowl. Add the eggs one at a time and vanilla and mix until well. Continue to scrap down the sides of the bowl until the mixture is completely combined and smooth.

Warm the pistachio cream in the microwave for about 30 seconds until it is fluid but not hot and fold in with a spatula, there should be no lumps and no streaks when you are finished.

Add the thickened cream and salt and mix well.
Pour mixture into the prepared tin and bake for 25 mins, increase temperature to 230C (450F) and cook for a further 5 mins.


Turn oven off and allow to cool in oven with door ajar for 15mins.
Put cheesecake into fridge for at lease 4 hours or overnight.
Prior to serving remove from tin and allow to sit at room temperature for 20 mins. If your cheesecake is stuck and you can't get it to release, it's just some of the fats set hard. Run a plastic spatula around the edge between the paper and tin and if it still won't come out pop the base into hot water for a second being careful not to splash the cake and it should easily slide out.
**Optional extra decorating step -after cheesecake is cooled in fridge, immediately on removal from fridge while still chilled.
Remove cheesecake from baking paper and spread a thin layer of pistachio cream around the sides of the cheesecake with an offset spatula or knife.
Place the chopped pistachios on a plate.
Holding the cake by the flat sides roll the pistachio cream covered edges in the chopped pistachios. They will stick to the the pistachio cream.

Original photos and recipe from the Bubble and Sweet blog ©Linda McCubbin 2025. I love when people share my blog ideas and give credit. Please feel free to link back to my blog for non commercial purposes. Affiliated links and adds may earn me money, however all ideas and opinions are my own,


