Wednesday, May 7, 2025

How to make the prettiest cottage core rose macarons using wet on wet piping


Honestly these Cottagecore rose macarons might be the prettiest macarons I've ever made. Are they cottage core? I'm not sure we used to call it shabby chic. Anyhoo those sweet roses are piped into the still wet macaron batter with different coloured macaron batter. I was so happy when it worked and I ended up with super shiny deliciously gorgeous patterned shells.

They are definitely the macarons of my dreams. It is so satisfying when the piped mixture falls back down into the shells.


I was so excited I even made a 5 minute Youtube video showing how I made them which includes mixing up the macaron batter so you can easily follow along and make your own here. Like I said it's a pretty short video and you can see the consistency required for the batter so I recommend watching it if you're going to try make your own macarons (patterned or not).

I filled these ones with a white chocolate rose ganache to match in with the rose decorated shells. I also did a version with a whipped white chocolate buttercream and raspberry puree centre for Mother's Day which was reminiscent of Devonshire tea and totally delicious..


They do require a little bit of work and I'm not sure every macaron recipe will work. Some of the recipes out there are different batter consistency to mine and as a result the piped roses will not fall back into the shells as well, so I've included the exact recipe I used which is the same recipe I've used for 15 years, modified slightly over the years. While I had a cafe I made thousands of these gorgeously delicious treats and fine tuned the recipe until it was no-fail for me.

I've already made up a few more batches of these wet on wet designs to share with you so check back to see all the macaron gorgeousness over the coming weeks.

XX

Linda 


Cottagecore Macarons (wet on wet instructions - see also my YouTube video)

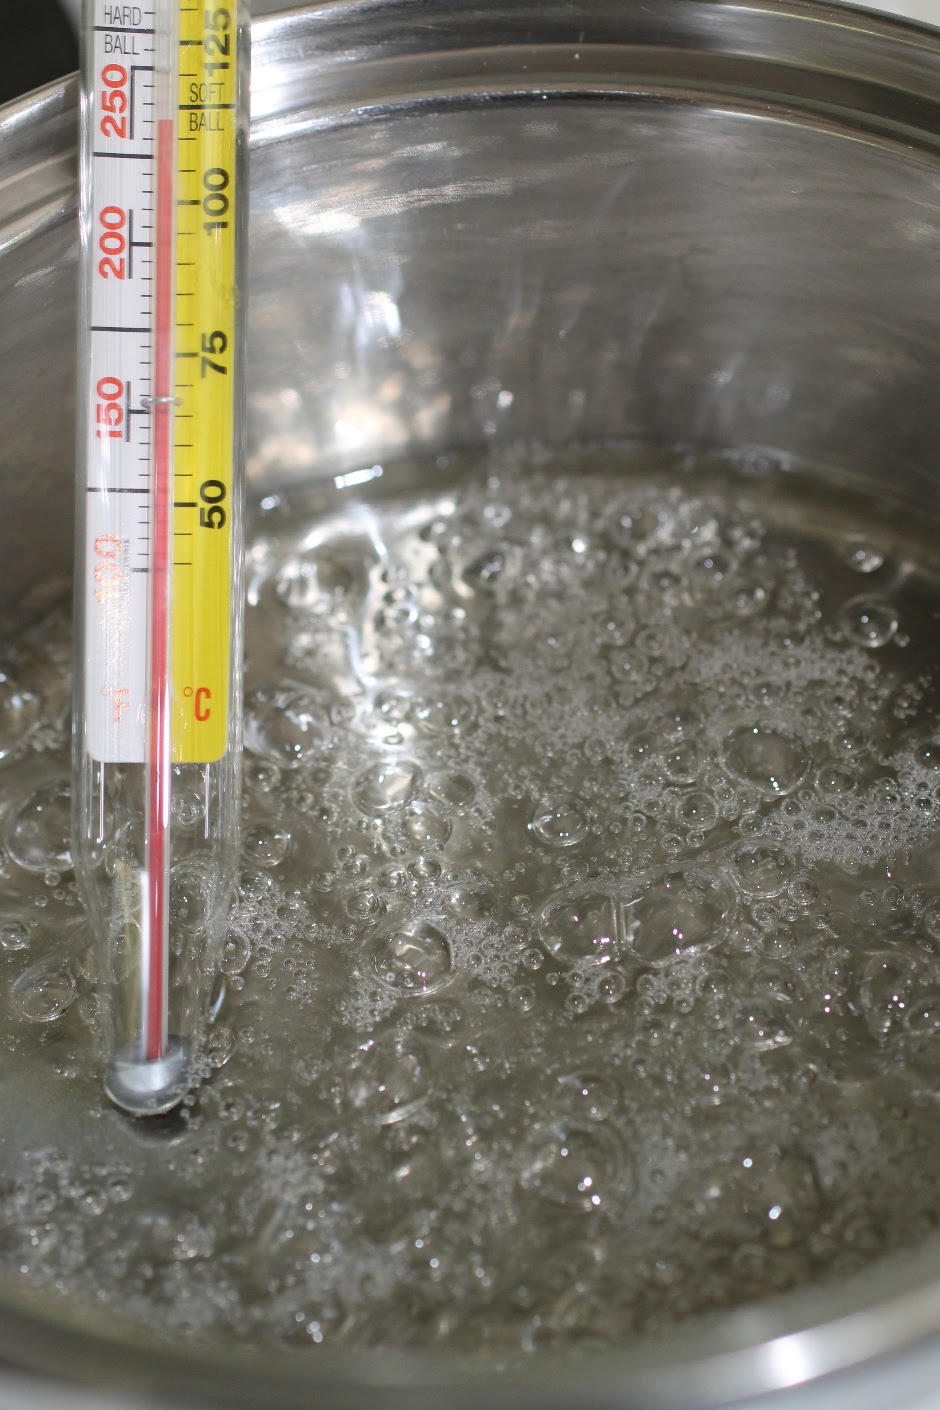
Mix up macaron batter. I've included my recipe for Italian meringue macarons below. Just before the batter is ready spoon out a small amount into 2 small bowls around 1/3 cup in one and 1/2 cup in the other.

Colour the large portion sky blue, and then colour the 1/3 bowl green (I used one drop mint green), then colour the 1/2 cup pink (I used one drop) then split a small amount of the pink into another bowl and put another drop of pink to make it a darker hue of pink. Put all the batter into seperate piping bags. 

Batter waiting to be piped. I made my own parchment bags for the small amounts

Pipe the main batter onto trays lined with parchment paper. I did one tray at a time so the macarons did not start to form skins.

Once you have the blue macaron shells piped, tap the tray on the counter to remove any air bubbles and then pipe 3 light pink dots (see picture 1 in the collage below).

Using the darker pink pipe a curve or c on top of each light pink dot. (see picture 2 in collage below)

Using a toothpick, skewer or scribing tool swirl in little circles back and forth to look like little rose swirls (see picture 3 in collage).


Pipe little leaves on the sides of each rose by piping a dot then letting go of the pressure on the piping bag and pulling the bag out sideways (see picture 4 in collage below) My leaves fell into the batter, however you might need to pipe a dot and use the scribing tool to pull the 'leaves' outward. 

Repeat for remaining batter and then allow to rest on the trays until set (see picture 5 in collage below).


Linda's Macaron Shells makes around 40-50 shells or 20-25 filled macarons. See below macaron recipe for simple instructions for ganache filling.


150 gram (5 +1/4 oz)almond meal (almond flour)
150 gram pure icing sugar (5 +1/4 oz powdered sugar)
150 gram granulated sugar (5 +1/4  oz) 
37 grams water (1 +1/4 oz)
110 gram (3 + 7/8oz) egg whites aged split into 2 lots of 55grams each (2 lots of 1 + 7/8 oz each)
food color of choice (I used sky blue, pink and mint green gel type food colour)

*ageing egg whites refers to separating the yolks from whites and then leaving the whites to age for a few days. This can be done on the counter if your countries climate permits or in the fridge, wrap the bowl with plastic wrap and then pop a few holes in the top. Alternately you can pop fresh egg whites in the microwave on high for 10 seconds or so - I used the aging on counter method in this batch pictured. 

1. Mix the ground almonds and icing sugar together and pulse a few times in food processor to make almond meal finer. Do not over process as the meal can become oily. Sieve into a large bowl. Add colour and 55g (1 + 7/8 ounce) of the egg whites to the sugar/almond mixture but don’t mix in.

2. Place remaining 55g (1 + 7/8 ounce) of egg whites in bowl of mixer fitted with the whisk.


3. Pop granulated sugar and water into saucepan, stir to combine and cook without stirring to 118 C (245F). Brush down the sides of the saucepan with a pastry brush dipped in water as required to avoid sugar crystallising. Make sure you have a pouring shield on your mixer, once the syrup has reached 118C pour in a thin stream down the side of the mixer bowl continuing to whisk on medium low.

4. Continue to whisk the meringue on high until the side of the bowl is only a little warm to touch, around 50C (120 F).
 

5. Add meringue mixture to almond mixture and using a large spatula fold the mixture together until it starts to shine and forms. If you run the spatula through the mixture it should form a ribbon that disappears back into the mixture after about 20 seconds.


6. Add the mixture to a piping bag fitted with a plain tip (or just cut the end of a disposable piping bag, that's what I do) and pipe in lines onto parchment lined baking sheets. To make the macarons as even as possible I apply a constant slow pressure to the piping bag and count a few numbers like up to 3 for each one. 

7. Set aside for about 30 minutes or until the macarons have formed a skin so that the macaron mixture does not stick to your finger when gently touched. If the weather is humid this step may take longer up to 2 hours. I pop on the aircon if it's humid at my house.

8. Meanwhile preheat oven to 130-135C (275 F) fan forced. Once ready bake the macaroons for around 19-23 minutes depending on size, it may take less of longer, all ovens are different. If they are baked and you gently push on the side the tops will not move, if the tops do move bake for another minute or 2. Also they should not be browned if they are reduce the heat for the next batch or bake for less time.

9. Once baked remove the baking trays and immediately slide off the macarons and the parchment onto the work surface and let cool completely before removing the shells.

10. Once cooled match disks into like sizes and sandwich together using the ganache.


Ganache Recipe

To make ganache melt white chocolate with cream in the microwave for 2 minutes on high and mix gently until combined, use a ration of 3:1, so for example 240 grams (8+1/2 oz) white chocolate to 80 grams (2 + 7/8 oz) cream. Add some gel color and rose oil/flavor to taste.


Original photos and recipe from the Bubble and Sweet blog ©Linda McCubbin 2025. I love when people share my blog ideas and give credit. Please feel free to link back to my blog for non commercial purposes or contact me. Affiliate links and adds may earn me money, however all ideas and opinions are my own.


Saturday, March 22, 2025

Gateway Muffins - Super easy mix banana muffins


You will not believe how easy these muffins are. No special equipment or fancy ingredients for the basic mixture and you can pop in any type of add in you like. I first published them on the blog here back in 2014 as raspberry and there is no way to keep track of how often I've made them. The recipe is still almost too good to believe.

If your household is anything like mine, the kids will be eating bananas by the truckload and then all of a sudden stop. It used to drive me crazy but now I don't mind at all, I just make muffins. Also no big deal if you don't have time to cook right now, just peel the banana, wrap them in cling film and pop them into the freezer. When you're ready to cook pull them out defrost and use them, the mushier the better in this case.

Plus they are a gateway muffin to healthy eating and home cooking. They are not actually a health food, but if you have someone who eats too much processed packet foods, chances are you can win them over with these muffins and actually get a bit of hidden fruit into their diet. I sometimes made them with wholemeal (wholewheat) flour and they still taste great.

I made a YouTube video here which is only just over 4 minutes long from start to finish which shows just how fast and easily you can whip up a batch of home made deliciousness.


This is consistently one of the go to recipes I have used over the years. You can have them plain banana or add in chocolate, blueberries, raspberries, pretty much anything at all.

If there is one recipe on the blog I recommend everyone have up their sleeve, it's this one, trust me you won't regret it.

Happy Baking

Linda 

XX


Super Easy Mix Banana Muffins

makes 9 muffins. I often make a mix of different muffins by mixing all the ingredients up to the add in stage, scooping the batter into the muffin tins and then adding different add ins so I end up with a mixed variety of muffins. ie 3 blueberry, 3 chocolate and 3 white chocolate and raspberry.

3 very ripe bananas
1 egg
1 1/2 cups self-raising flour
1/2 cup sugar
1/4 tsp salt
1 tsp vanilla extract
1 tsp ground cinnamon
1/3 cup oil (I used olive oil)

Optional add ins: 

3/4 cup raspberry (fresh or frozen) and 1/4 cup white chocolate;

 or 1/2 cup chocolate chips; 

or 3/4 cup blueberries


Preheat oven to 160C (325F) and line a regular muffin tin with baking papers (you will only need to line 9 of the 12 holes)

In a large bowl using a fork, mash the bananas well. 

Add the wet ingredients and mix well.

Add all remaining ingredients except the optional add in's and mix until just combined.

Divide mixture evenly between the 9 paper cases filling up to the top of each cupcake paper. 

**Add in extra 'add-ins' at this stage. You can make all one flavour or make a mixture. Some ideas are chocolate chip; raspberry/white choc chip; blueberry. Just push the ingredients into the mixture.

Bake until the top is golden and a skewer inserted comes out clean (around 30 minutes).

Original photos and recipe from the Bubble and Sweet blog ©Linda McCubbin 2025. I love when people share my blog ideas and give credit. Please feel free to link back to my blog for non commercial purposes. Affiliated links and adds may earn me money, however all ideas and opinions are my own.


Monday, February 17, 2025

Easy Pistachio Basque Cheesecake Recipe


I just celebrated my birthday, and with the kids pretty much grown up, finding a night we can all be together to have dinner in between their casual jobs, school, uni and other commitments is a bit tricky. 

I was sitting down Friday night working out what day we should organise my dinner and realised that if we didn't do it that Sunday it would be a month again before we would all be together so that's how this cheesecake came to be.

My Chocolate basque cheesecake recipe (click here for link) is one of my go to easy favourites. If you make it in the morning it can actually be served that night. I decided I didn't want the lead up to my birthday to be spent rushing to put together a layer cake and I had already been thinking of changing up my cheesecake recipe to use some of the pistachio cream I had in my fridge and luckily for us it worked out perfectly.

Basque cheesecake is crazy easy to make, my recipe has 5 ingredients plus a pinch of salt and it's just about making sure everything is room temperature and mixed well at a low speed. Even lining the tin is easy just scrunch up baking paper and press it into the tin. It's the ultimate lazy dessert.

I did add an extra step by decorating around the edge with more pistachio cream and chopped pistachios. Just to make it a bit more birthday-ee. But you can totally miss that out and it will be gorgeously burnt and delicious.

I still want to make myself an actual proper layered birthday cake,  it will have to wait at least a month but that will give me enough time to come up with some fun ideas. 


Happy Baking

xx

Linda

Pistachio Basque Cheesecake - makes a 6" cheesecake which will make 6-8 snack serves. Store in fridge for up to 3 days. Can be frozen wrapped individually in plastic wrap and thawed in the fridge.

450g (16oz) cream cheese at room temperature

300g (10 1/2 oz) pistachio cream

3 eggs room temperature

1 tsp vanilla

225g (8oz) thickened cream (dollop cream) (heavy cream)

good pinch salt

Optional decoration extra pistachio cream around 1/4 cup and 1/4 cup chopped pistachio nuts

Line a 6 inch wide by 3 inch high, round baking tin with baking paper. To do this crumple up the paper in your hands and then place over the baking tin and press down I used a spoon to press a line around the bottom rim and then turn the edges over the top rim.


Place cooking rack into middle of oven and preheat to 220 C Fan forced (430F).

Make sure the cream cheese is at room temperature so the mixture will be silky smooth. Place into mixer bowl and mix at low speed until smooth and creamy. You do not want any lumps at this stage and also we are not trying to incorporate extra air or volume. The room temperature ingredients and slow mixing are key steps.


Scrap down the sides of the bowl. Add the eggs one at a time and vanilla and mix until well. Continue to scrap down the sides of the bowl until the mixture is completely combined and smooth.

Warm the pistachio cream in the microwave for about 30 seconds until it is fluid but not hot and fold in with a spatula, there should be no lumps and no streaks when you are finished.


Add the thickened cream and salt and mix well.

Pour mixture into the prepared tin and bake for 25 mins, increase temperature to 230C (450F) and cook for a further 5 mins. 


Turn oven off and allow to cool in oven with door ajar for 15mins. 

Put cheesecake into fridge for at lease 4 hours or overnight.

Prior to serving remove from tin and allow to sit at room temperature for 20 mins. If your cheesecake is stuck and you can't get it to release, it's just some of the fats set hard. Run a plastic spatula around the edge between the paper and tin and if it still won't come out pop the base into hot water for a second being careful not to splash the cake and it should easily slide out.

**Optional extra decorating step -after cheesecake is cooled in fridge, immediately on removal from fridge while still chilled.

Remove cheesecake from baking paper and spread a thin layer of pistachio cream around the sides of the cheesecake with an offset spatula or knife.

Place the chopped pistachios on a plate.

Holding the cake by the flat sides roll the pistachio cream covered edges in the chopped pistachios. They will stick to the the pistachio cream. 

Original photos and recipe from the Bubble and Sweet blog ©Linda McCubbin 2025. I love when people share my blog ideas and give credit. Please feel free to link back to my blog for non commercial purposes. Affiliated links and adds may earn me money, however all ideas and opinions are my own,