Showing posts with label craft room. Show all posts

Sunday, August 3, 2014

All that glitters party straws - DIY budget party craft


Bubble's birthday party was last weekend. It was a fun budget birthday organised in under 2 weeks which I will be sharing as soon as I sort out the photo's.

In the meantime here is a quick bit of diy decorating that I did for her party. It's so pretty you could even use it for a grown up party.


I made up a bunch of gold glitter straw flags for the party which looked pretty fabulous considering they cost a few dollars for the whole lot.


Yup $2 for a pack of those cute chevron straws and $1* for a roll of gold glitter tape. Plus next to no time.
 
*I had a quick check online and the gold glitter tape I found was more expensive that the one I picked up at the discount store, so shop around or happily pay a little more and support local businesses your choice :)


Gold Glitter flag instructions

So pretty much all you do is cut a short length of tape, fold it in half to make a crease, take off the plastic backing, place it around the straw so that the fold you have made aligns along the straw to make sure it is even and then press the sticky sides together. You can leave the flag with a flat even edge, or if you like take a sharp pair of scissors and cut a little V away as shown in the picture. So easy peasy I know I didn't even need to put the written how to but it makes me feel like I'm doing something ;)


I'm not the first person to do this, my SIL did this glitter tape at my niece's birthday party plus last year I did pretty much the same thing but used floral tape instead of glitter. But it is soooo pretty I had to share the pictures.

Shopping notes:

Gold Glitter tape in pack of 4 from Big W discount department store Australia (pack of 4 glitter tape $4)
Pink Chevron Girl straws Shmick CLICK HERE
Pink polkadot and floral fabic tape from Choice discount stores Australia
Pink twine Greengate
Scissors - similar available on Ebay


Linda Vandermeer is a blogger, baker, maker and author of the cookbook ' Sweets on a Stick': More than 150 kid friendly recipes for cakes, candies, cookies and pies on the go!. Published in the US the book is available at most online book stores.

Original photography by Linda Vandermeer do not reuse without permission.  

Sunday, November 17, 2013

A modern shabby chic corner


It's been a year now since I put in my new creative space, so I thought I would show you a bit of an update on the corner I've been adding to lately.

I had some extra stuff sitting around - some Ikea chairs we got from the clearance corner for $15 around 20 years ago, a 10 year old Ikea mirror (there are pic's of it on the wall in the before photo's of the creative space) and a couple of pieces of furniture from Loot I picked up in the last few months.

As I'm going with a modern shabby chic look I thought I would give most of it a bit of a paint to match it in with the rest of the stuff I have.

Paint notes - Ikea chair Taubmans Melody Mint, sideboard Dulux seafoam

It's not so much that I must have Ikea furniture, 
it's more that they are 5 minutes down the road and have free child care. 
Other furniture shops take note what some mums will do to for a few minutes of quite.


I'm using the draws in the sideboard as ribbon storage at the moment until I come up with a better idea. I just cut up some pieces of wooden dowel to the size of the draw, stuck it through the middle of the ribbons and popped the whole lot into the draws. I stuck down the ends of each ribbon so they don't untangle, it's not perfect but it's working for now.

 small bowls from Greengate

Oh and check out this super cute bird topped twine spool and scissors I picked up at Holy Sheet Springwood. Oh my goodness - cuteness much???


If you did not see my original creative space transformation make sure you click here and check it out. Eeek the before photo's are totally embarrassing, but I feel comfortable with y'all so I'm ok with you taking a peek.

Oh and make sure you check out the latest issue of  Tickle the Imagination magazine. I have a marshmallow recipe on page 67. It only took me 8 goes until I was happy with it....phew, I never thought I might be tired of marshmallow but even I have limits to how much sweet soft billowy clouds of yumminess I can eat :)

CLICK HERE to link to the free online magazine and my recipe.

Rose marshmallow variation pictured

Linda Vandermeer is a blogger, baker, maker and author of the cookbook ' Sweets on a Stick': More than 150 kid friendly recipes for cakes, candies, cookies and pies on the go!. Published in the US the book is available at most online book stores.

Original Ideas, photography and recipes by Linda Vandermeer do not reuse without permission.

Chocolate dipped mint variation link to recipe above

Thursday, May 30, 2013

DIY mini brown paper and doily snack bags


So it seems lots of people thought the little handmade brown paper bags that I popped my sugar spiced pecan cranberry popcorn mix in were a bit cute so I'm doing up a tutorial on how to make them below.

I'm not actually big on craft and do it more out of.....uh saying necessity would be wrong, perhaps lack of forward planning and cheapness might be more accurate. The idea for these bags came about something like this.

Hmmmm I've made up this yummy pecan nut mix and it is REALLY good but just photographing a pile of sticky looking pecans might not convey just how good so how can I make it look better in the photo's. I've just had a look in my 'prop' cupboards and nothing is really cutting it.


Oh-oh it's 6 o'clock now and the kids will be up soon, I better hurry. Think...think. Brown paper bags,yes you serve nuts in bags. But I only have big ones or these kinda cool envelopes that tie up with string, oh I like those and forgot I had them, nice! (Tie up and untie little envelopes)....focus I need little bags. Doh why don't I just cut my big ones down.

Double oh-oh one of the kids is awake. Sure sweetie we can make blueberry pancakes. 

So I did it - well both of the it's. In between making pancakes I cut down my savings brand brown paper bags and used some double sided tape to stick the the bags back together on the sides that needed sticking.

They still looked a little boring so I thought I would add some paper doiles and tie them up with a little paper twine I had saved.......and the end result looked pretty good in my picture with the nuts spilling out if I do say so myself ;) Well definitely better than a pile of sticky looking nuts.

Pretty swish for something I whipped up during breakfast. I've given really simple instructions on how I made the bags down below.

Yummy Sugar Spice Cranberry Pecan Popcorn Mix - Recipe HERE


Jo Totes Camera Bag Giveaway

Quick reminder if you want a chance to win a Jo Totes Camera Bag the giveaway finished Friday 31st (Australian EST) - CLICK HERE for link


DIY mini Brown Paper Doily Bags
Finished bag are approx 10cm (4") X 13cm (5")

You'll need:
Regular sized paper bags
scissors
double sided tape
oval doilies (mine were 22cm (8 3/4"0x 14.5cm (5 3/4")
twine or paper string
(optional hot glue for adhering string to back of bag)


Make up your own mini brown paper bags by cutting a regular bag into quarters.

Trim off a half a cm (1/4") from the bottom and side of the top 2 bags and then trim the corners (see picture below bottom left) so that you can fold together to make a neat bag. Use double sided sticky tape (I cut my double sided tape in half lengthways as it was a little too wide) and then fold the sides over to secure, Press down with a ruler to make the folds/edges sharp and neat. Make sure you have trimmed a triangle off the top corner so that the shape and opening of the top look the same as the original regular size bag.

For the bottom 2 quarters you will need to trim half a cm (1/4") from the one long open side and use the tape down that one side and fold it over to make a mini bag. I then cute half a cm (1/4") from one side of the top of the bag and a little triangle at each side of the top to make the shape and opening of the top look the same as the original regular size bag.


Adhere a lace doily to the mini brown paper bag.

Trim doily to size - mine were large oval doilies I picked up at a discount store so I cut them in half. Use double sided tape to adhere the doily to the bag, making sure you fold the edges neatly (use a ruler to press flat if you need) over and stick the back edges in place.

Finish by tying some twine, paper string or jute around the bag. Use a little glue on the back or tape to stick it in place.


There you have it super cute little bags that can make anything from M&M's to sugared nuts look even better.


Linda Vandermeer is a blogger, baker, maker and author of the cookbook ' Sweets on a Stick': More than 150 kid friendly recipes for cakes, candies, cookies and pies on the go!. Published in the US the book is available at most online book stores:

Link to Amazon:

Or at Fishpond (free shipping Australia)
Sweets on a Stick: More Than 150 Kid-Friendly Recipes for Cakes, Candies, Cookies, and Pies on the Go! 

Sunday, April 28, 2013

Kids playroom makeover on a budget

Upcycled dining room table - Ikea Expedit storage in background

The kids are growing up so I thought it was time for a play room overhaul.

No more small plastic Ikea tables and play kitchens, it was a bit sad saying goodbye to some of those old toys. But I had not problem waving bye to all those little plastic pieces of pretend fruit and veg that used to get left all over the house.

Anyhoo this is just a quick post on what I did for the kids while my creative space room was getting reorganised. As my room is out of bounds for the kids I made them their very own craft space.

 This is my creative space - CLICK HERE to see the makeover for this room

I pretty much had a budget of $0 for the kids room, although I did go over as I bought new oilcloth for the table and cane baskets. But that's ok - I sold their old Ikea table and kitchen on Ebay and as well as freeing up lots of space the proceeds paid for my little overspend.

Everything else I used was from around the house, existing furniture or the kids already had.


The main focus of the room now is this lovely table which is my old dining room table that we removed from my creative space. I painted the legs white and then stapled pretty oilcloth to the top. It's a fabulous solution as the table is so easy to keep clean and the nice wood is still intact underneath if I want it again in future.

Yup this is all I needed, you don't need to hem oilcloth, I just cut and stapled :)

Boy oh boy has oilcloth had a revamp since I was young, I actually like this Clarke & Clarke one I picked up.

If your looking for a less permant solution you can always just cut the oilcloth to size and use like a regular tablecloth, but I found the kids were always making it slip off the side. So stapled on for me is the way to go.

Then I just painted the chairs white or blue and covered the seats in the same matching oilcloth.

Upcycled dining room chair

Oh my goodness, oilcloth chairs for the kids is amazing, cause my kids are super dooper messy and always spilling stuff. It is so easy to clean crayon, pen and paint just wipe off in a few seconds with a damp cloth like magic.


To store all their craft stuff I used this old pine tv cabinet, pulled off the doors, painted it white and bought some cheap cane baskets. It's so easy for them to pull out to access what they need.

Repurposed old TV cabinet with cane baskets inserted


and no the room does not ever look like these pictures. It's a kids craft and play room and made to be used so it has piles of homework and craft projects underway all the time.

But that's ok I can live with a bit of mess if I get creatively inspired kids in return :)

White pen holders - Ikea, Blue bin repurposed ice bucket

Craft table and chairs- old dining room set painted and then covered with oilcloth
Craft shelves - old tv cabinet painted white with doors removed and cane basket inserted
Oilcloth - Clarke & Clarke Rosetta  (in Australia try Fabrics online for similar)
blue bin - ice bucket repurposed for bin
white pen holders - Ikea
Large white shelving in background - Ikea Expedit with cane basket inserts


Craft storage stand - repurposed planter from hardware store


Linda Vandermeer is a blogger, baker, maker and author of the cookbook ' Sweets on a Stick': More than 150 kid friendly recipes for cakes, candies, cookies and pies on the go!. Published in the US the book is available at most online book stores:

Link to Amazon:

Or at Fishpond (free shipping Australia)
Sweets on a Stick: More Than 150 Kid-Friendly Recipes for Cakes, Candies, Cookies, and Pies on the Go! 

Sunday, March 10, 2013

A pretty white light filled organised creative space

--

Welcome to my new creative work space.

Keep on reading and I will share my secrets with you and show how with jut $15, five minutes a day and items you already have around the house you too can have a fabulously clean, organised and gorgeous craft room.


Yup that is a total fib....here is the real story :)

Once upon a time I had no kids and a clean house, then I had some kids and I started to make cakes and blog and my mess and clutter totally won. It was not a happily ever after.


I knew I had to throw everything out or get some serious storage.

So I turned my formal dining room into a kinda extension of our kitchen which can be used for a study or creative space, or even extra kitchen. We never used it anymore because we have a breakfast room and outdoor dining area and hello did you see that before picture above...it was unusable.


I was redoing the kitchen anyway (I have a post coming up next month on the kitchen) so I had Craftbuilt Kitchens pop in an extra wall of storage into the old formal dining room with a built in desk, open shelving and pull out shelves inside the cupboards. We ripped up the old beige sisal and popped down some new flooring.


I'm not quite sure if the before and after photo's do the makeover justice but there is such a different feel to the room now.


See look here it is through the doorway to the kitchen, I know I could have removed the wall, but I wanted a separate space for me.


Although the room was always quite light, removing the sheer curtains, painting the walls white (instead of the previous light blue) and the removal of the carpet has made it feel cleaner, more open with increased natural light.

Plus there is lots and lots of storage so all that mess is hidden away. I'm not saying that stuff is easier to find, my mess had a method to it and I knew where everything was, well mostly. But the access is way better and now everything has a space and that means it's easier to keep the clutter at bay.


Also I added lots of pretty details so I have incentive to keep it looking good.

In the corner I already had a little Ikea Billy bookcase with glass doors that I stored my cookies cutters and fondant tools in and it worked fine, plus it mostly matched so I decided to keep it as I was working within a budget. But I did pick up a cute and relatively inexpensive plate rack from Ikea to finish off the corner.


Cute huh!

Side story at one of my baking demonstrations someone commented that I get a lot of stuff from Ikea which is true. All I have to say to that is free child minding obviously works as an incentive for me.

Now I know some of you are thinking it's a bit white. I did consider popping some wall paper behind the plate rack, on the backs of the open shelves and glass front cupboards and also the area above the desk. But if I hate the wallpaper in a couple of months time I'll be stuck with it for a while this way I can just change around the accessories and update it whenever I like. That's not to say  I won't change my mind next week and pop in some wallpaper, but for now white is right for me.


Also I hear you, what is with that depressing ceiling light! Well there is a story to the light. I actually bought a fabulous 30% lead crystal chandelier to pop up in the new space which was TOTALLY gorgeous. But according to my electrician it seems most people actually like to walk around without ducking or hitting their heads so he didn't install it. Sometimes I get carried away and don't think through the little stuff. By the way if anyone has seen any beautiful flush fit chandeliers make sure to let me know - really I need to know :)

Anyhoo back to the storage, now I have draws for all my stuff. I have a draw for sprinkles:


The sprinkles are sitting on little wavy racks from Ikea that don't quite fit into the draw flat so they sit on a nice angle. There is a bit of space underneath the top back that I can store other things that I don't access often. I know that there are more space effective ways of storing sprinkles, but this room is not just a storage cuboard it's a creative space and opening the sprinkle draw makes me happy. Yes I do have more sprinkles in other spots, many, many, many more sprinkles.

I have a draw for piping bags and ziplock bags.


Seriously this one has changed my life. For some reason before I had the Wilton bags stored in one spot, the cheaper ones stored in another spot, the box of Kee-seal large bags on a roll (pictured at the back of the draw) in the back of my cupboard and the ziplock stacked up somewhere else. It doesn't look like much but I love this draw. If you are wondering why I need so many different types of piping bags that will take a whole post on it's own :)

A draw for piping tips, fondant cutters and tools and stuff....


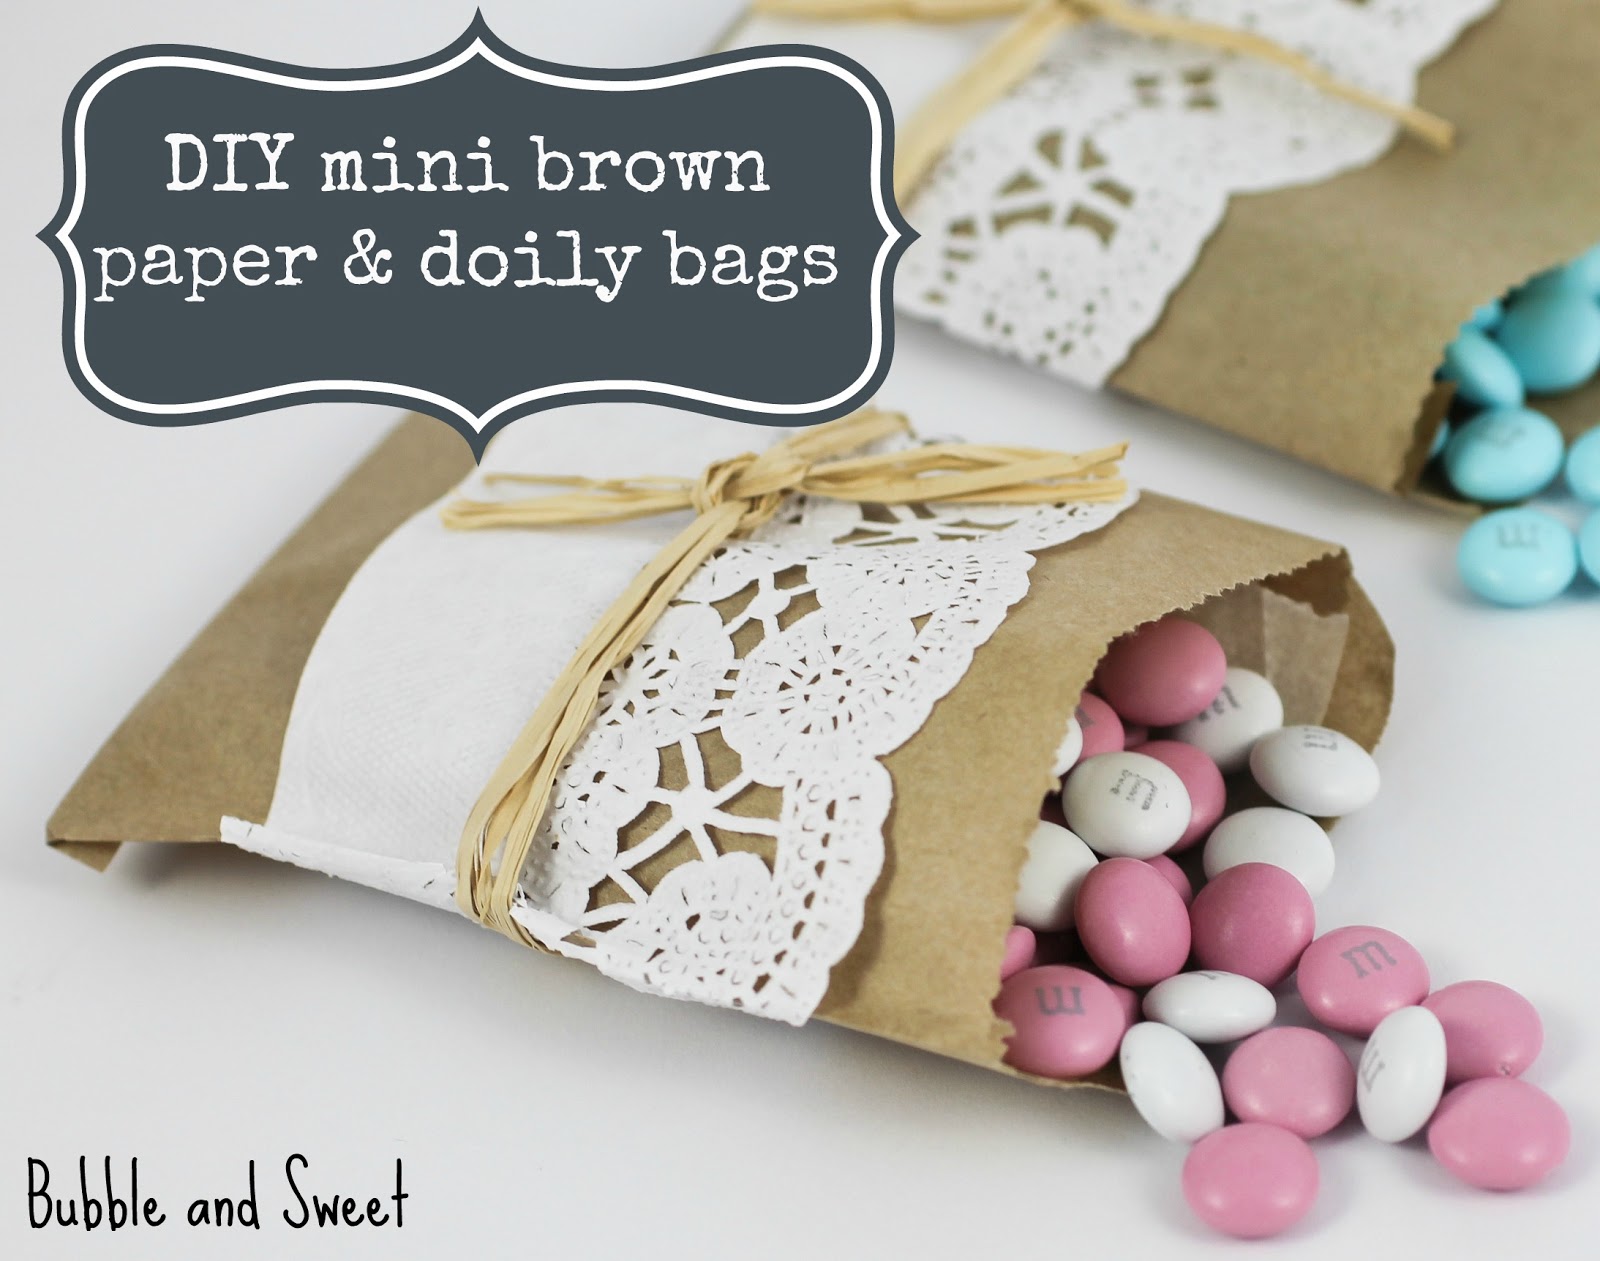
A draw for paper doilies and brown paper bags.


I have no sensible excuse for this one, but it's good to be able to find the paper bags for the kids tuckshop at a moments notice, oh and there are business cards at the back - so it's not just totally paper doilies.

I have a draw for ribbon and twine which needs a lot of work. I have another large box of ribbon somewhere and twine and paper ribbon squirreled away in other spots. My ribbon storage needs more work. I do have a ribbon detangle plan underway.


There are lots of pull out shelves, these ones hold big click clack containers of almond meal, bitter sweet chocolate, white chocolate, lindt milk chocolate, hazelnute meal.......y'know that stuff that I always use in my super delicious recipes. Also rolled fondant, more sprinkles, candy melts, modelling chocolate, pouring fondant, food colors...the decorating essentials.  There is lots of stuff in here, it used to be stored in big plastic storage bins underneath my dining table covered by the tablecloth. It was hard to access this stuff when I needed it in the old system.


Pull out shelving rocks - just saying.

I'm pretty happy with how it turned out and I came in within a couple of hundred dollars of the original budget for the whole kitchen renovation. Here are some hints and extra information:


- have lots of pictures from magazines or pintrest of kitchens that you like. A lot of the kitchens I picked had different features but they all had similar profile doors and a bright airy whiteness. When I was being swayed towards other options I went back to these pictures and refocused on what I wanted.

- do it your way. I got a marble look laminate top instead of natural stone or some other fancy bench top, mostly because I am messy and use lots of stainy type food colour. The profile doors were a lot extra than plain doors but I was willing to pay extra. That was for me, it was something I wanted, however if you love natural products but couldn't give a hoot about the doors.....you know what you have to do.

- research appliances, draw options and other nifty gadgets before hand. But only get it if you need it, every extra thing adds $$$. Note: as mentioned above pull out draws and pantries are awesome.


- Get a few quotes and different designs, of course. Price is important but so is the feeling you get for how the company does business. I had one of the biggish flatpack places that offers interest free come out. Wow they are hard sell. At the start I said I had other people coming to quote, so after drawing up the design she priced it and then said she would call her boss to see what the best price they could do if I signed up today on the spot. I said I can't do that I still have quotes to come, she said I'm going to do it, I said but I can't sign today I have more quotes coming, she said but we have a one time special today, I said please don't (really I used those words 'please don't)....despite my plea she called up and gave me a nearly 30% on the spot discount if I signed NOW. Obviously we did not go with that business.

- Tell the designers drawing up your design your budget, everyone that quoted mostly worked to my budget, they gave me options of what I could cut to get the stuff I really wanted. The places I had come out all included the labour costs e.g. electrical, installation, plastering so there were no hidden costs later.


- Have an idea of what you need to store. For example I have some really tall items so I needed some of the shelves to be double the normal height in the cupboards. You want that sorted out before you install fixed shelves. Alternately make the shelves movable.

- I really wanted those handles (CLICK HERE for link). The kitchen design took a couple of hours, finding the handles I wanted took a couple of weeks. As it turns out they were from Ikea. The kitchen store had round silver pull handles that might have matched for the overheads but I felt they were too big or small, I found the ones I ended up using at Big W (discount department store) they were $26 for a pack of 6.

- I liked Sue the consultant that designed my kitchen, she was sensible and warned me about possible issues without trying to sway me to change. The last thing I do each night before going upstairs is wipe down sticky little fingerprints from the handles and dust the little ledges of the profile doors that catch everything - but I knew that going in and I would still choose them again.

- Cupboards up to the ceiling mean no dusting the tops and extra storage. Craftbuilt included and arranged the cornices and plastering in the installation.


- The chair is one of the old dining chairs painted white with the seat recovered in Tilda fabric. I have repurposed the dining table and remaining chairs in the kids craft room. If your on my facbook page you might have helped me out with voting on which you preferred - white or blue. I am actually going to paint one in sea foam (light mint green) next.......if the rain ever stops here.

- The toile curtains and pelment were already in place, I had them custom made at Curtain Elegance years ago. I really wanted new curtains but they still look so good I can't replace them.

- There are built in lights under the open shelves above the desk area. A power point behind the kitchen aid, under the desk and an area in the cupboard that I use to recharge stuff. I like those nifty power points that pull out of the desk like a little tower then push down flush but it's not practical if I'm going to be cooking stuff in this area.


and I'm sitting right here typing this post up - your seeing exactly what I am seeing.

So now I've had this creative space for a couple of months I can honestly say it is way easier to keep clean. Also I have been inspired to declutter other areas in the house.

Is it my happily ever after? Well I'm happy right now and that's all I can ask for, oh and maybe a flush chandelier :)

Shop the Details

The wall is 4.6 meters (over 15 feet) long so there is a lot of cupboard space.
All up the shelving, installation, electrical, plastering etc. cost around $8,500.
Cabinets, installation - Craftbuilt Kitchens
Handles - Ikea and Big W
Fabric on Chair - Tilda similar from Fabric Traders
Pink and Blue folders in overhead cupboards - Bantex
Sprinkle organisaiton - Ikea
Plate rack - Ikea
Most of the display stone wear and tins are Greengate
Mint Camera Bag - Missy Mint by Jo Totes mine from Cambags


Hey check out this bag - it's a camera bag with little inserts to keep your camera and lens etc safe but I love it because it has a super section for my laptop. I picked this one up at Cambags in Australia. If your in the US try Jo Totes.
.....................................................

Linda Vandermeer is a blogger, baker, maker and author of the cookbook ' Sweets on a Stick': More than 150 kid friendly recipes for cakes, candies, cookies and pies on the go!. Published in the US the book is available at most online book stores:

Link to Amazon:

Or at Fishpond (free shipping Australia)
Sweets on a Stick: More Than 150 Kid-Friendly Recipes for Cakes, Candies, Cookies, and Pies on the Go!