Saturday, August 28, 2010

Oreo Cookie Truffle Pops Recipe

 
I am soooo loving cake pops at the moment, for me they are the new cupcake, or macaron, or whatever....... I'm not even up with what's "it" at the moment but for me Cake pops are definitely 'it'.

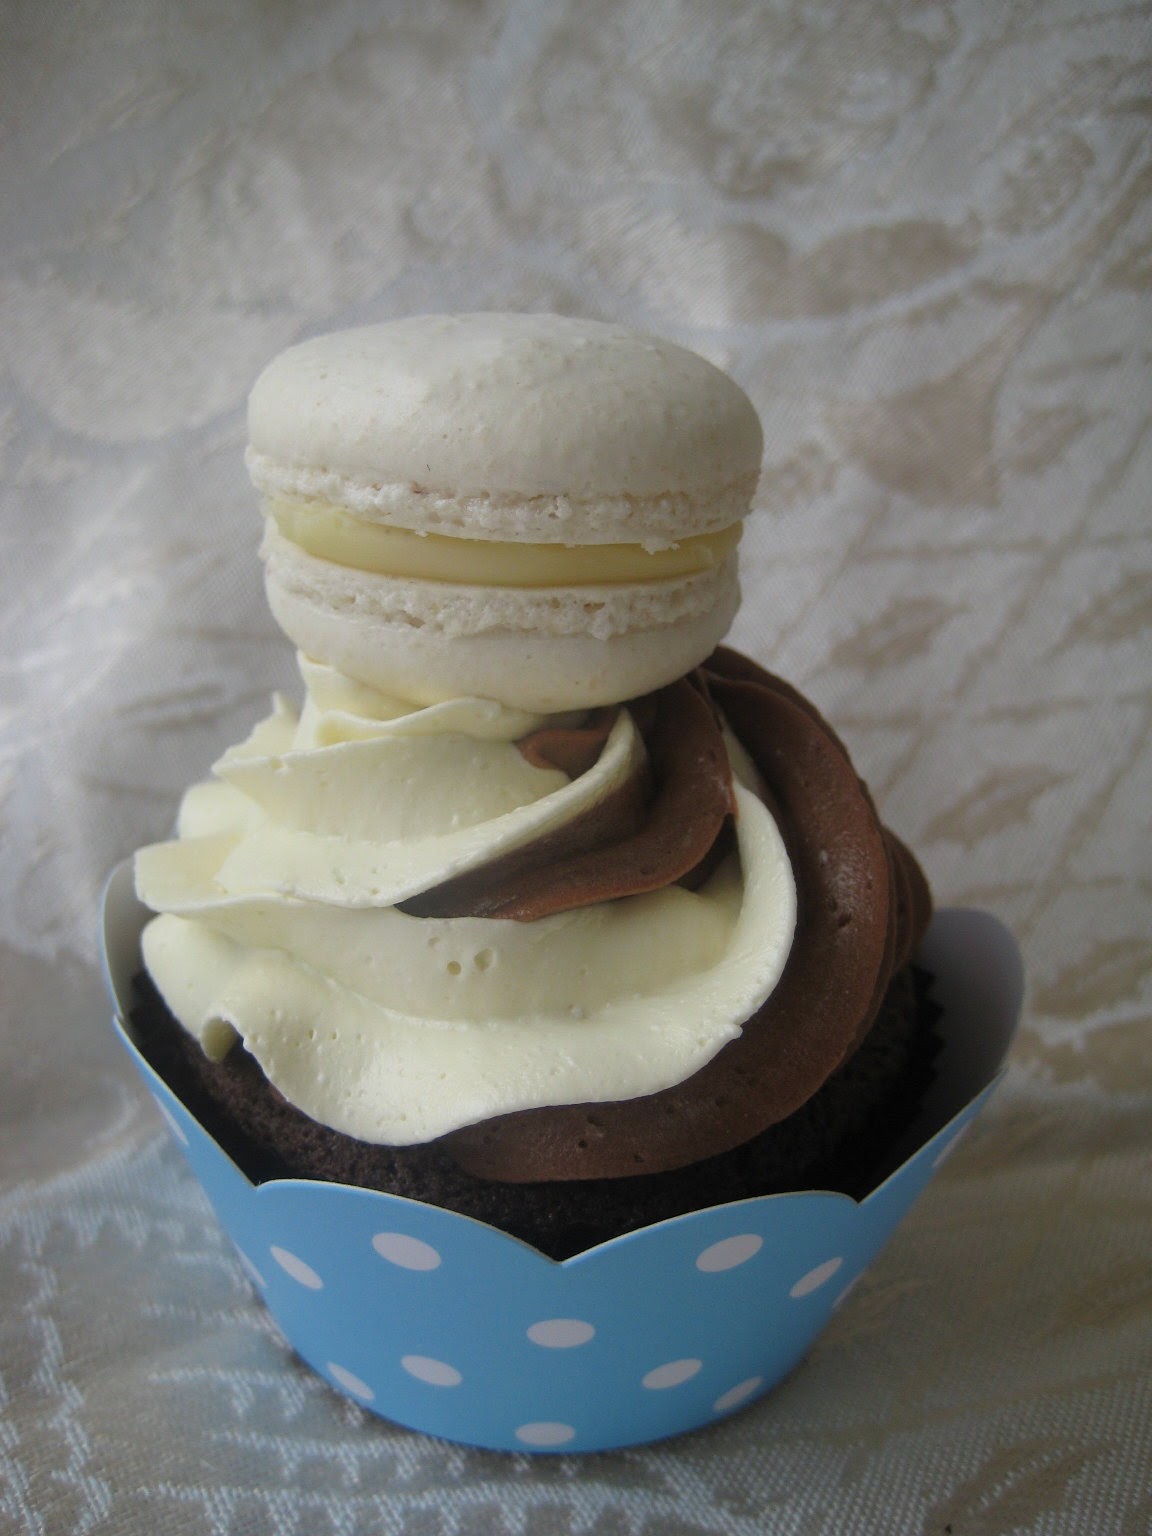
Not to say I don't still enjoy a couple of macarons each day. Variety is the spice of life. But given a choice I'm going for those cake pops for sure.


Dense, moist and cakey inside and creamy sweet chocolate outside, there's no way I'm tiring of these delicious treats any time soon.

The ones in these pictures are not technically cake pops, they're cookie pops, Oreo cookie truffle pops to be exact.

And how about this, just 3 ingredients: Oreo cookies, cream cheese and chocolate. None of that messy time consuming cake making and baking for these pops.


Do you know what that means, yup they are ready to eat even faster. Just mix, chill, dip and eat.

I served these Oreo Truffle pops at the Ava's Tea Party we held in memory of Ava Rosemeyer, if you haven't had a chance check out the post.

Of course can't mention cake pops without mentioning Bakerella whom has a new cookbook out on...... yes you guessed it cake pops. I'm sure I don't need to tell you to check out her site if you love cake pops like I love cake pops.


Oreo Cookie Truffle Pop Recipe - makes approx 16 truffle pops

Note for US conversion, pretty much just add half the amount of cream cheese to what ever size packet oreo's you get. So if you have a 16oz package of Oreos add 8oz cream cheese which will make around 23 or 24 Oreo truffles.

300g Oreo Cookies
150g Cream Cheese at room temp
397g Packet Wilton Chocolate Melts (mine were pink) or use white eating chocolate with a little copha melted in.

1. Crush Oreo cookies finely in a food processor


2. Add cream cheese and process until the mixture clumps together


3 Roll into small balls, mine are about 25g (7/8 ounce) each and refrigerate until firm


4. To secure sticks for dipping, melt some of the chocolate melts (I just do mine in the microwave for short bursts on med low) and dip the end of your sticks/pops in the chocolate and push into the firm truffles. Return to fridge.


5. Melt remainder of chocolate, make sure it is completely smooth. Holding the stick/pop dip truffles into the melted chocolate, allow excess to drip off and then place into a holder to set. I use styrofoam covered in plastic.

These pops are decorated with modeling chocolate butterflies. If you want to add on any decorations you can either add while the chocolate has not yet set or afterwards you can melt a little more chocolate and add using a little of the melted chocolate as the glue.
Linda Vandermeer is a blogger, baker, maker and author of the cookbook ' Sweets on a Stick': More than 150 kid friendly recipes for cakes, candies, cookies and pies on the go!. Published in the US the book is available at most online book stores:


Or here at fishpond (Aus/NZ)

Sweets on a Stick: More Than 150 Kid-Friendly Recipes for Cakes, Candies, Cookies, and Pies on the Go!

Sweets on a Stick also available at the Bleeding Heart Brisbane: contact details info@bleedingheart.com.au

Wednesday, August 25, 2010

Ava's Tea Party


I first read Ava Rosemeyer's story about a year ago, I was searching and came across some beautiful images and noticed a tab with the simple heading Ava and a link to her memorial site.


To say Ava's story is touching is a complete understatement, Ava was not yet 4 when she was unexpectedly taken from her family. One of the things that Ava had been looking forward to was a tea party she had been planning with her family.


A group of talented people have had the vision to create Ava's Tea Party in August each year, to inspire people to spend time together with their loved ones. Links to these groups are included at the end of this post.


So inspired, on Monday the 23rd of August some friends and I had a tea party in memory of Ava Rosemeyer.

Naomi from Naomi V Photography took beautiful images of this wonderful day and Daneve from Ah Tissue came and decorated with her gorgeous pom poms.


We remembered a little princess, we laughed, had fun and spent time with some people we love and some new friends.


We had rosewater cupcakes, chocolate macarons, oreo cookie pops, flower sugar cookies and Wizz Fizz sherbet icecream cones.


In memory of Ava I didn't stop the kids from wading in the mud and squishing it between their toes. Lilli told me this was the best part of the party......


Big bubble blowers.......always lots of fun.


Proving that not only princesses love a tea party Kye was the ultimate party boy.


Later while driving home Lilli asked me if I thought that Ava got the balloons up in Heaven that we had released.


I'd like to think she did.


Ava's Tea Party is held in August of every year. This year Details Details has a range of printable invites for $10 each designed by a group of super talented Australian Stationery designers. The whole $10 you pay is donated to Paradise Kids a community funded organisation which helps families through grief and loss.

Big thank you to Naomi V Photography and Ah Tissue for helping to make this such a wonderful day for the kids.

Ava's Tea Party 
Paradise Kids
Details Details Beauty Full Collection
Naomi V Photography - thank you for the images on this Ava's Tea Party post
Ah Tissue pom poms - thank you for the lovely pom pom decorations for this party and the balloons for releasing.

Update: The girls are wearing pettiskirts from Princess Ratbag - Australian Designed and owned - click here for the link to Princess Ratbag.

Wednesday, August 18, 2010

Wizard of Oz Party - Sophie's 4th Birthday


Wizard of Oz Farmhouse cake - rainbow inside with Rainbow Macaron Feature

Some people are amazing, I was talking to my friend Sandy this morning and she mentioned how after each birthday party she starts planning the one for next year.

Wow, that's really organised, like really really organised. I can't compete with that.

Poor Sophie got 2 weeks of planning for this one. I was still in recovery from Lilli's party when my sister in law asked what date we were actually having Sophie's party as her birthday was about 2 weeks away.

Eeeeeekkk!!!!!

But it's ok, I do some of my best work under pressure,  I already had in my mind that we would be having a Wizard of Oz party, as my newly 4 year old really does make a sweet Dorothy.

I just needed to invite some kids, come up with some party games and think up / make some themed party food over the next 2 weeks.


Piece of Rainbow cake (hehe). Although truthfully the rainbow cake was no piece of cake at all, actually quite a bit of work there but it was adored by Sophie who made suitable 'oh wow' noises.


Oh and look at that tiny triangle of violet cake at the top left after I carved out the shape. Honestly what kind of idiot would bake a whole layer of cake for that..........Well I think we all know.


Doesn't look quite so crazy from this angle, but we all still know how much violet there really is don't we.
  

Of course the ever wonderful and talented Terri my sister in law made the pom pom decorations, labels and took the photos as well.


Wizard of Oz party table menu

Farmhouse rainbow cake - yup it really is rainbow inside.


Rainbow Macarons - served in a jar and also two tone rainbow feature behind house. Filling included peppermint buttercream, raspberry ganache and orange ganache.


Poppy field cake balls

Snowflake cake pops (cheesecake inside), these were my favourites


Rainbow sweet liquorice and Glinda's lolly mix

Rainbow fruit salad

Ruby Slipper sugar cookies with raspberry glaze - Click here for recipe and instructions


Rainbow coloured popcorn


Emerald City Punch (kiwi fruit juice)


I got these cute little bottles from Imprintables click here for link and you can get the striped straws there as well, from Details Details or Paper Scissors Rock Stationery. You can actually get these bottles yourself by buying them still filled with juice and then soaking and scrubbing the labels off, but I don't drink juice and I don't like scrubbing so totally worth having Imprintables do that hard work for me.


Monday, August 16, 2010

Ruby Slipper Cookies - Sophie's Wizard of Oz Birthday Party


"Keep tight inside of them - their magic must be very powerful or she wouldn't want them so badly."


I was hoping to have an amazing post showing you all pictures of my daughter's Wonderful Wizard of Oz 4th birthday party today. However sadly due to some technical issues I don't have any.

But don't despair my pretties I did take some shots beforehand so while we are waiting for the photos to be retrieved, I'll be sharing some of my recipes with  you.


What Wizard of Oz party would be complete without Ruby Slippers, these ones were made from sugar cookie topped with a raspberry glaze, and for extra decoration I sprinkled a couple with non toxic food glitter.


Then I wrapped the cookies individually in cello bags ties with some blue gingham ribbon.

I also made some 'tin man heart' cookies with the remaining dough and glace icing, they were the perfect bite size treat to nibble on.
.


Ruby Red Slipper Recipe - (I made 14 slipper cookies and a few hearts from this batch)

Make up a batch of sugar cookie dough (recipe below) and cut out shoe shapes. I got my slipper cutter from Little Betsy Baker it's called a high heel cookie cutter ($4.50 AUD).

Pop cut cookies onto a tray and pop in fridge for 10 mins, bake cookies as per instructions and allow to cool on rack.

Make up some glace icing or royal icing in deep red, you may want to leave this to rest a few hours or overnight to allow the colour to settle. You will need 2 different consistencies one for piping the outside and one for 'flooding' the inside. I have listed a recipe below for the glace icing I used but you could just as easily buy a premix bag of royal icing.

Prepare you piping bag by placing a coupler (the white thing that you can screw different tips on with) or just placing a tip directly in the bag. I fold my bags over at the top and then pop them into a big cup so I can easily pour the icing  in the bag - see I've taken a really blurry photo for you to see how.


Pipe an outline round the edge of the shoe with the firmer outlining icing.


Grab your bag of 'flood' icing and pipe inside the shoe, then, with a toothpick gently draw the icing out so there are no gaps showing.


If your using the non toxic food glitter you can gently sprinkle it over the top at this stage, once it's dry you can sprinkle off the excess. I only decorated 2 cookies with the glitter for the top of the basket and left the remainder red.


Sugar Cookie Recipe

114 grams unsalted butter (1 stick or 4 ounces) softened to room temperature
2/3 cup caster sugar
1 extra large egg
1/2 tsp vanilla extract
1 3/4 cups plus 1 Tablespoon plain flour sifted
1/2 tsp baking powder
1/2 tsp salt

Using a mixer cream butter and sugar.

Add egg and vanilla and mix well. Add the dry ingredients to butter mixture and mix until dough comes together.

Wrap in plastic wrap and chill in fridge for 30 mins.

Roll out dough to approx 7mm thick, cut out cookie shapes and chill for another 30 mins on trays. Bake at oven preheated to 180 C for 10 to 15 mins depending on cookie size.

Glace Icing (I used a half of this recipe for the above cookies and still had a bit left over) This icing takes way longer to dry than royal icing. Recipe adapted from Creative Cookies by Toba Garrett

454 g (1 lb) icing sugar (confectioners sugar)
90ml (3/8 cup) milk
126g  (4.5oz or 3/8 cup) light corn syrup - if you can't find corn syrup you can substitute liquid glucose.

In a mixing bowl mix together the sugar and milk until it resembles a heavy cream like consistency, add corn syrup and mix until just combined.

Add colour and flavour as required. Ensure the mixture is covered tightly with plastic to prevent drying.

Icing can last up to 2 weeks in fridge and milk can be replaced with water if you are dairy sensitive.

Glace Icing for Outlining

1/2 cup glace icing
4 1/2 to 6 heaping Tbsp (6 to 8 US Tbsp) icing sugar (confectioners sugar)

Mix until combined, the consistency should have a medium stiff consistency and hold it's shape without running when you pipe a line.

Wrapped in a bag and ribbon these make a cute and easy take home gift

Monday, August 9, 2010

Two Tone MacCakes - Or what to do with yummy leftovers


MacCakes - no this isn't something you get at the golden arches. It's what I'm calling my cupcakes topped with macarons that were a result of some yummy leftovers this week.

Oh and check out the two tone topping.


Totally swirlalicious.

I've had it in my head to make some macCakes for a while and then I spied something very similar to these on one of Butter Hearts Sugar post. The pink two tone twirl on that site was so sweet.

So I was a bit inspired when I ended up with the following leftovers last week:
Chocolate butter cake cupcakes,
Vanilla Italian Meringue Buttercream,
Chocolate Buttercream
Strawberry and white chocolate macarons and
Vanilla Bean white chocolate macarons
.
My two tone macCakes were just meant to be.

and you know when your serving leftovers you have to jazz it up a bit so I added some gorgeous cupcake wrappers from The Cupcake Wrapper Co to pull the look together.


and just because I had some green cupcake wrappers as well I did these ones with the flowers as well.

Oh these made me so happy, I loved the chocolate buttercream with the macarons. I had even more macarons left and ended up piping a little star of the two tone buttercream on the top of all of them. No pictures of these as I ate them way too fast.


There are a couple of ways to do a two tone frosting, you can just pop the 2 different frostings into the one piping bag and hope for the best, or you can do what I did and pop each frosting into a separate bag, then pop those 2 bags into another bag with a tip. Usually ends up more even and with less smudging.


Ooops filled those bags a little too much, remember to under fill them a little as they will be getting squished in with another bag.

I piped onto the counter until I had the swirl coming through evenly and then it was easy peasy.


Yummmm!!!!!

Friday, August 6, 2010

Once upon a time....... Strawberry white chocolate pot recipe and Forest tea party


Once upon a time there were 4 gorgeous little girls, they were the prettiest and best dressed girls in the land and one day they happened upon a magical tea party in the forest.


There were cupcakes, strawberry mousse cups, rose and violet macarons, pink cake pops, sweets, lollipop cookies and finger sandwiches and a magical far away tree....


This isn't a fairy tale it's real life (well ok maybe the bit about the magical far away tree's not real) but it wasn't an accident these girls happened upon this tea party.


Strawberry Chocolate Pot recipe at bottom after jump

Elizabeth from LaToriana had a wonderful idea for a photo shoot set in the forest and was kind enough to invite my daughters and I along.

Daneve from Ah Tissue helped set the scene with hanging pom poms and Naomi V Photography took the amazing photo's.


and of course I made the food and styled the little tea table.

It was such fun, and so lovely to meet Elizabeth Murphy of LaToriana in person as I have been a fan and customer of her store for a number of years.


You can see from the photo's just how divine the clothes are I fell in love with the new Little Miss J range, LaToriana sources some of the best brands from Australian and New Zealand. See more pics at her Forest Tea Party La Toriana style blog post.